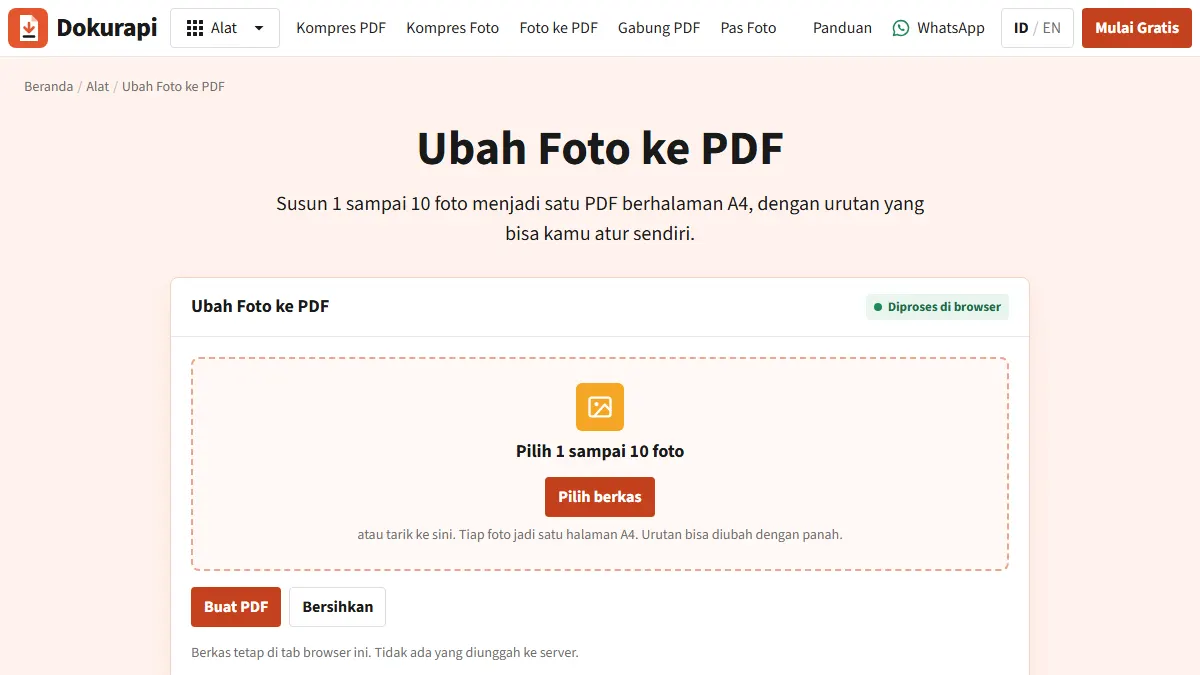
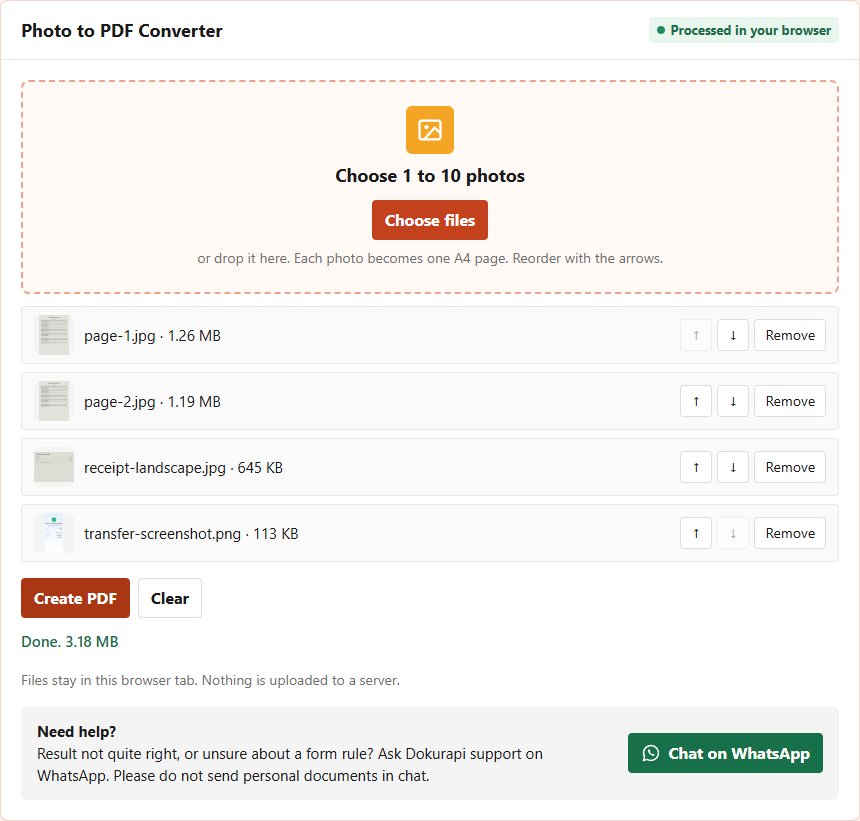
To combine images into PDF with Dokurapi, open the Photo to PDF tool, choose up to 10 JPG, PNG or WebP images, put them in order with the arrows, and press Create PDF. Each image becomes one A4 page, and the file is built inside your browser tab without any upload. In our test on 16 October 2026, four images totalling 3,205,359 bytes made a 3,178,344-byte PDF. Compressing the same images first brought the PDF down to 622,349 bytes.
This guide covers the order of pages, what happens to portrait, landscape and tall screenshots on an A4 page, why the PDF is about as big as the photos inside it, and how to get under a portal's size limit. All numbers come from files we downloaded from the live tool, and the test images are synthetic.
When a form asks for one PDF made of several images
Application portals, scholarship forms and school registrations often accept a single file per field. Your documents, though, are usually several photos: the front and back of a certificate, a multi-page letter you photographed page by page, a payment receipt, and a screenshot of the transfer confirmation. The upload field wants all of them in one PDF.
Sending them as separate files is not an option when the field accepts only one. Putting them in a ZIP rarely works either, because most portals only accept PDF or images. Combining the images into a single PDF keeps every page readable and lets the reviewer scroll through them in the order you chose.
If your pages are already PDFs, not images, use Merge PDF instead; our guide to combining PDF files covers that case. If you have a single photo to convert, the photo to PDF guide is the shorter read. This article is about the middle case: several images that must become one PDF.
Before you start, collect the images in one folder and give them names that sort in the order you want, such as 1-certificate-front.jpg and 2-certificate-back.jpg. The tool keeps the order in which files are picked, and good names make the right order the default.
Ready to try it? The tool is free and runs in your browser.
Open the Photo to PDF toolHow Photo to PDF builds the file
The tool uses the open-source pdf-lib library inside your browser. According to its code, every image gets its own A4 page of 595.28 by 841.89 points, the standard ISO 216 A4 size, in portrait orientation. The image is scaled to fit the page without cropping and centred, so any space left over stays white.
How the image is stored depends on its type. A JPEG is embedded as it is, byte for byte, without re-compressing. A PNG is embedded as a PNG, which keeps it sharp but also keeps its size. Other formats, such as WebP, are first drawn on a white canvas no larger than 1800 pixels on the longest side and saved as a JPEG at 90% quality.
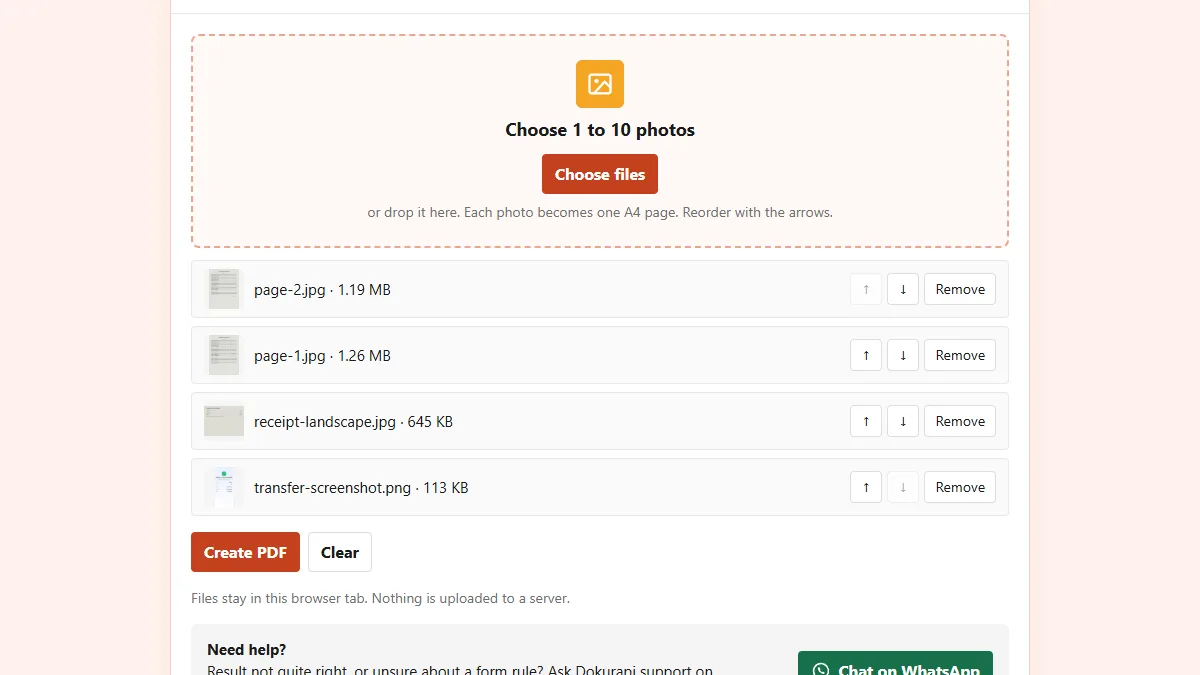
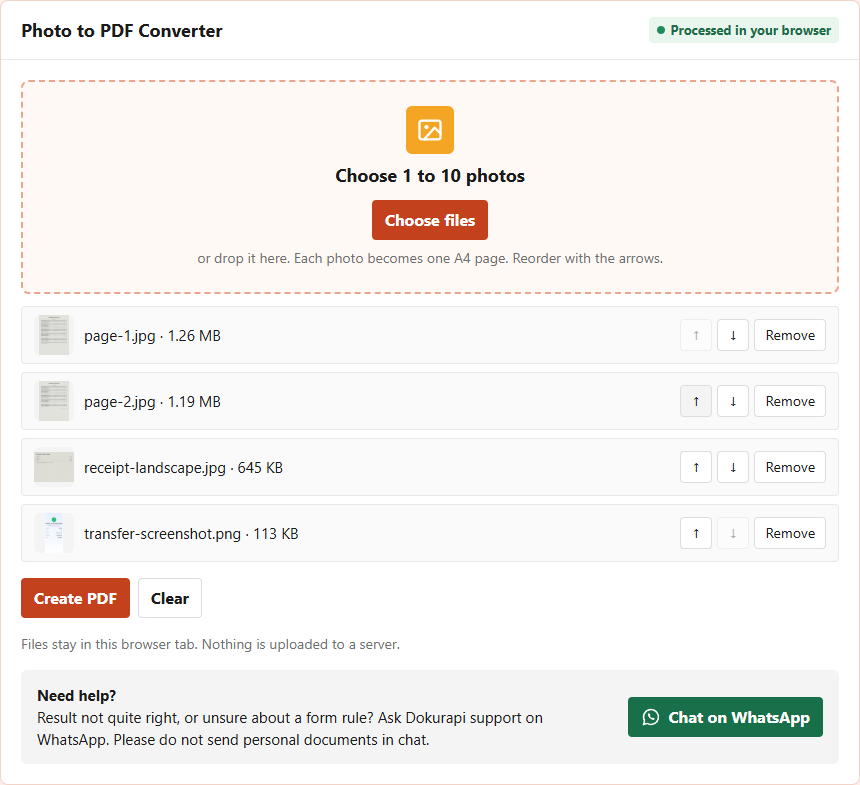
The tool accepts up to 10 images per PDF. If you choose more, it keeps the first 10 and tells you how many were left out. Pages follow the list order, and each row has up and down arrows plus a small thumbnail, so you can check the order before you create the file. Nothing is sent to a server at any point.
Getting the page order right
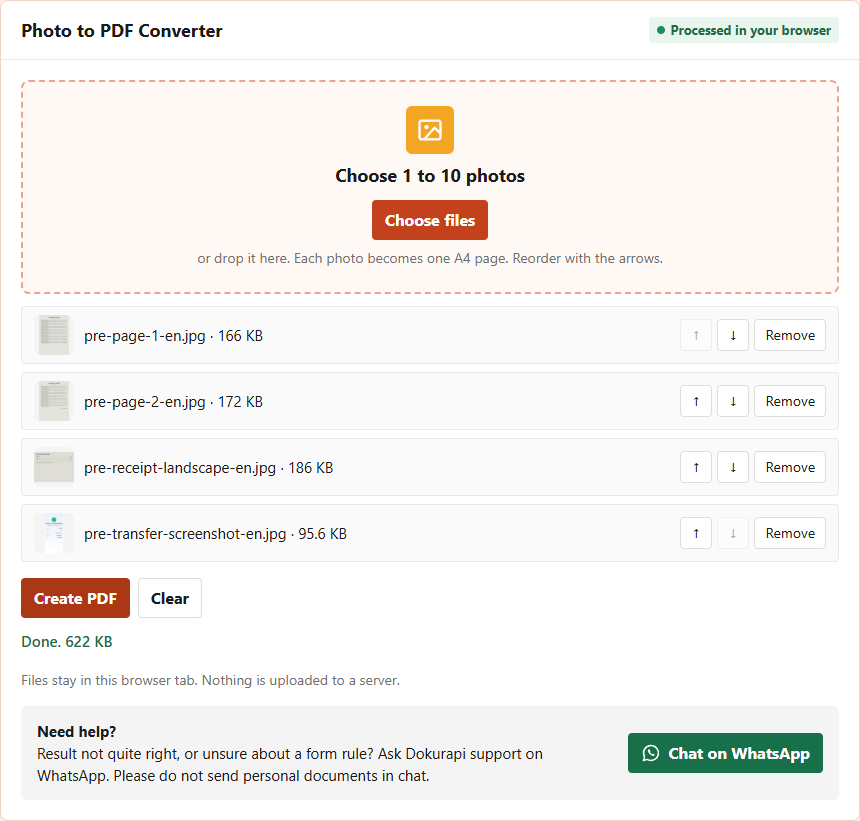
In our test we picked the files deliberately out of order: page-2.jpg first, then page-1.jpg, the receipt and the transfer screenshot. The list showed them exactly in that order. One press of the up arrow on page-1.jpg fixed it, and the PDF followed the corrected list.
A reviewer who finds page 2 before page 1 may assume a page is missing, so the order is worth thirty seconds of checking. Use the thumbnails, and if two pages look alike at that size, check the file names. After creating the PDF, open it and scroll through once. The guide to checking PDF page order describes a quick routine.
Rotation is the other common mistake. The tool places each image as it is stored, so a photo taken sideways becomes a sideways page. Rotate the photo in your gallery app, save it, and then add it to the list. Phones sometimes store orientation as a separate tag; if a page still appears rotated, export a copy of the photo from the gallery before combining.
Finally, remove anything the form did not ask for. An extra page, such as a duplicate photo or a screenshot with personal notifications, adds size and can confuse the reviewer. The Remove button on each row takes it out without starting over.
Portrait, landscape and tall screenshots on A4
Every page in the PDF is portrait A4, whatever the shape of the image. We rendered our test PDF to see how each kind of image lands on the page.
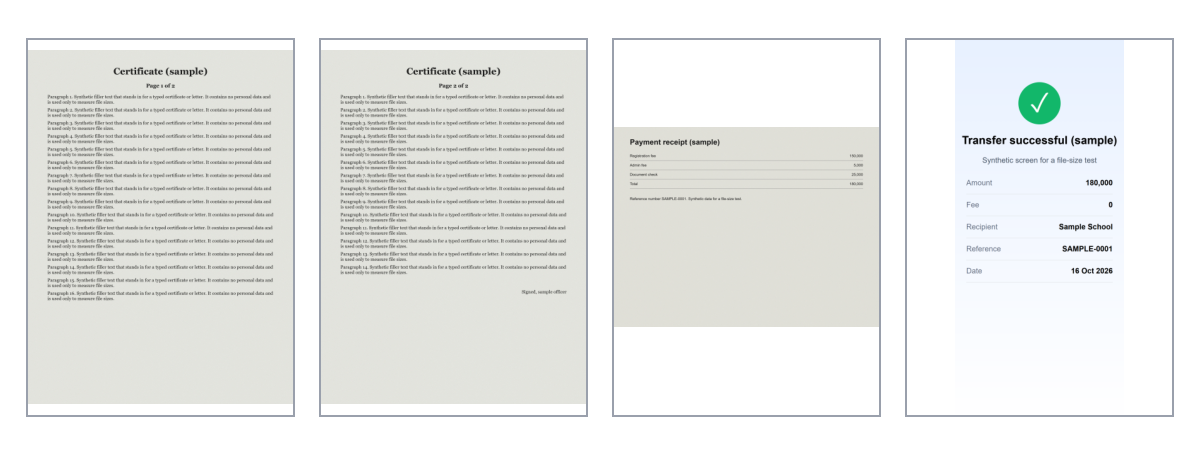
The two portrait photos, 3000 by 4000 pixels, almost fill the page; only thin white bands remain because a photo is slightly wider in proportion than A4. The landscape receipt, 4000 by 3000 pixels, is scaled down to the page width and sits in the middle with large white areas above and below. The 1080 by 2400 transfer screenshot is taller than A4 in proportion, so it fills the height and leaves white margins at the sides.
For landscape documents this means smaller text. If the receipt is hard to read, crop away the background around the paper before combining, so the document itself fills more of the image. For long screenshots, crop to the part that matters; a screenshot that shows only the confirmation details is larger on the page than one that includes the status bar and empty space.
Why the PDF is about as big as the images inside
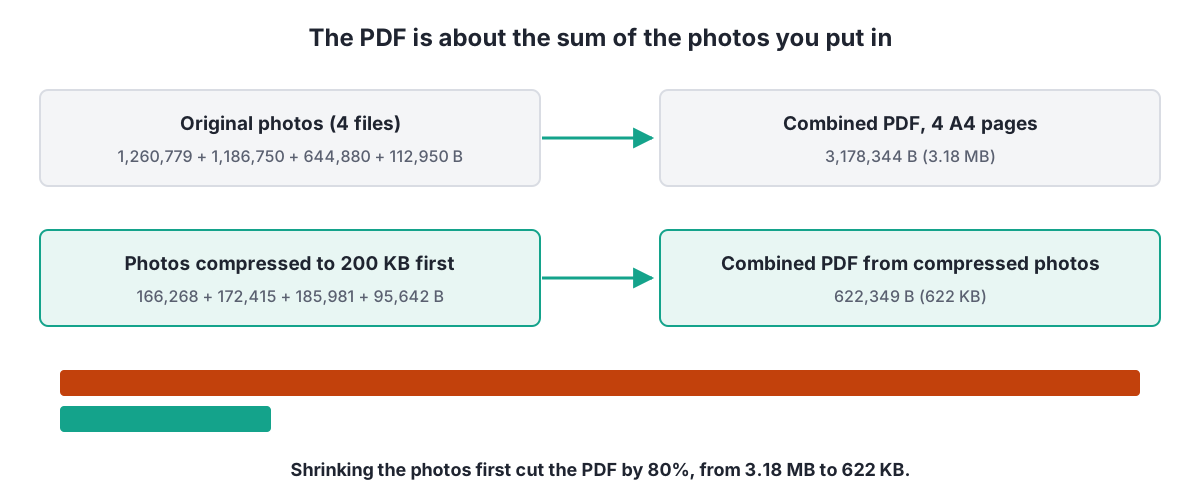
Because JPEGs are embedded without re-compressing, the PDF ends up roughly the size of the images you put in, plus a little structure. Our four originals added up to 3,205,359 bytes and the PDF was 3,178,344 bytes. The total even came out slightly smaller, because the PNG screenshot was re-packed when it was embedded, but the lesson is the same: combining does not shrink anything.
| Image | Original | After Compress Image (200 KB target) |
|---|---|---|
| page-1.jpg, 3000×4000 | 1,260,779 B | 166,268 B, 1800×2400 |
| page-2.jpg, 3000×4000 | 1,186,750 B | 172,415 B, 1800×2400 |
| receipt-landscape.jpg, 4000×3000 | 644,880 B | 185,981 B, 2400×1800 |
| transfer-screenshot.png, 1080×2400 | 112,950 B | 95,642 B, JPEG |
| Combined PDF, 4 pages | 3,178,344 B | 622,349 B |
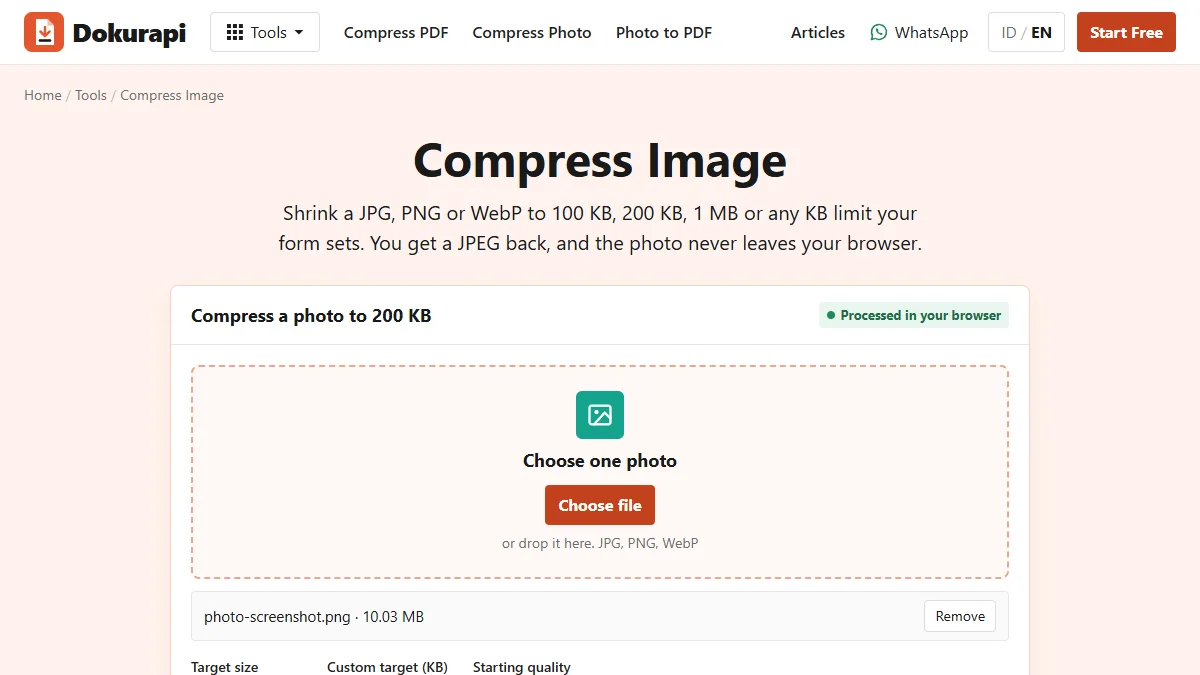
So the way to a small PDF is to start with small images. Run each image through Compress Image first, then combine the compressed copies. Our second run did exactly that with a 200 KB target per image: the PDF fell to 622,349 bytes, 80% smaller, and the text on every page stayed readable at normal zoom.
Getting the combined PDF under a size limit
Work backwards from the limit. If a portal accepts 1 MB for the field and you have four images, aim for about 200 to 230 KB per image. Divide the limit by the number of pages, leave some room for the PDF structure, and use that as the target in Compress Image. Remember that Dokurapi counts 1 KB as 1,000 bytes, while some portals count 1,024; the NIST note on binary prefixes explains the difference.
| Portal limit | 2 images | 4 images | 6 images |
|---|---|---|---|
| 500 KB | 200 KB each | 100 KB each | About 75 KB each (custom target) |
| 1 MB | 450 KB each (custom target on the 500 KB page) | 200 KB each | 150 KB each (custom) |
| 2 MB | 900 KB each (custom) | 450 KB each (custom) | 300 KB each (custom) |
These are starting points, not guarantees. After creating the PDF, check its exact size with Check PDF size, which compares it with the limit you choose. If it is still over, compress the largest images again with a smaller target. Compressing the finished PDF with Compress PDF to 1 MB also works, but it turns every page into a picture, so it is better as a last resort.
Text-heavy screenshots deserve a note. A small PNG screenshot can grow when converted to JPEG at a generous target, as our compress PNG test showed. Our transfer screenshot shrank only from 112,950 to 95,642 bytes. If a screenshot is already small, you can leave it as it is and compress only the camera photos.
More than 10 images
The tool makes PDFs of up to 10 images. When we chose 11 copies of a scan, it kept the first 10 and showed the message "1 photo(s) left out, the limit is 10 photos per PDF." The 11th file was not added to the list.
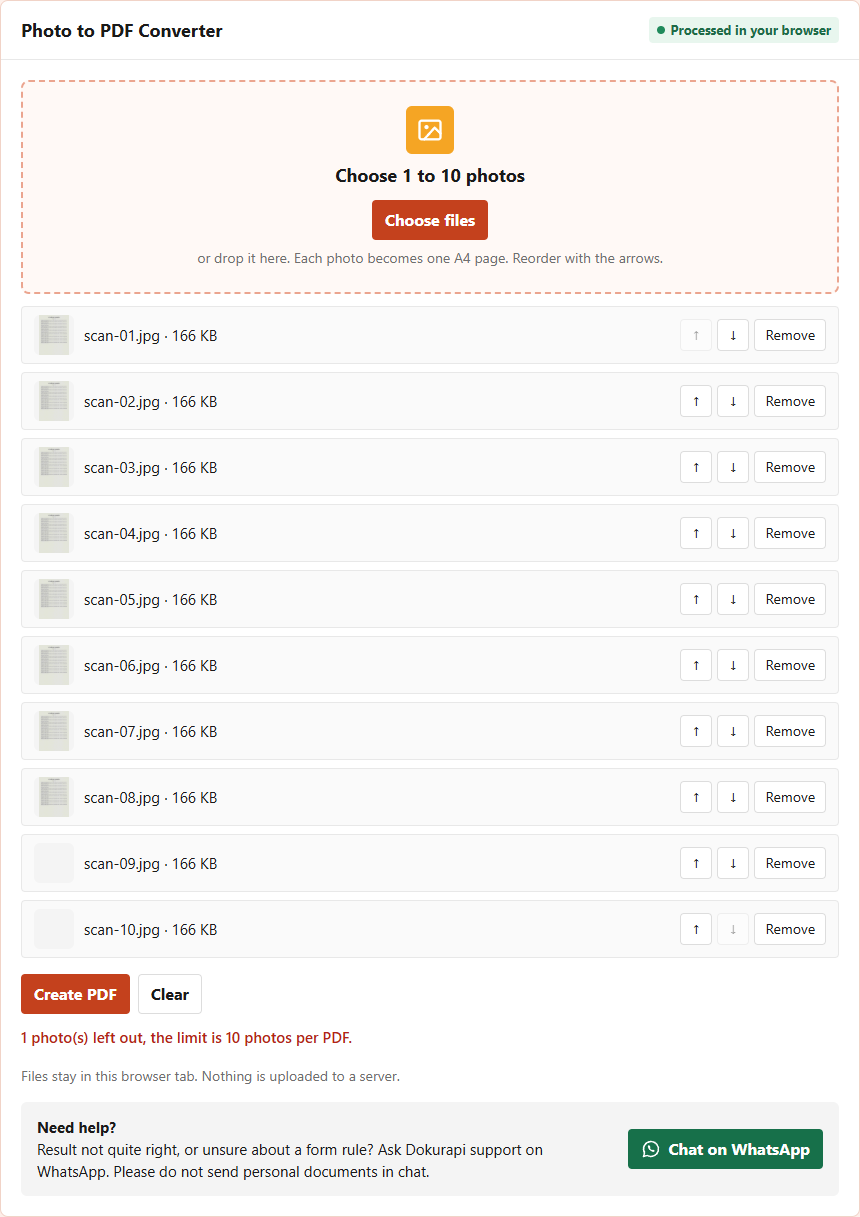
For longer documents, split the images into two groups of up to 10, create two PDFs, and join them with Merge PDF. Compress the images before you create each part, because merging adds the sizes together. A 20-page document is usually a sign that the portal expects a scanner rather than a phone, so check whether the form asks for specific pages only.
Checklist before you upload the PDF
- Open the PDF and scroll through every page: right order, nothing sideways, nothing missing.
- Zoom to 100% on the smallest text and check that names and numbers are readable.
- Check the exact size against the portal's limit, in bytes if the portal is strict.
- Make sure there is no page the form did not ask for.
- Rename the file the way the portal suggests, for example with your registration number.
Keep the original photos until the application is accepted. If the reviewer asks for a clearer page, you can redo one image without photographing everything again. And as with every Dokurapi tool, the images never leave your device; how the browser tools work shows how to confirm that yourself.
Frequently asked questions
How do I combine images into one PDF?
How many images can I combine at once?
Can I change the order of the pages?
Why is my PDF so big?
What page size does the PDF use?
Can I mix JPG, PNG and WebP images?
How do I get the combined PDF under 1 MB?
Are my images uploaded anywhere?
Sources
- pdf-lib: create and modify PDF documents in JavaScript
- Wikipedia: ISO 216 paper sizes
- MDN: Image file type and format guide
- NIST: Prefixes for binary multiples
Need help?Result not quite right, or unsure about a form rule? Ask Dokurapi support on WhatsApp. Please do not send personal documents in chat.
Chat on WhatsApp