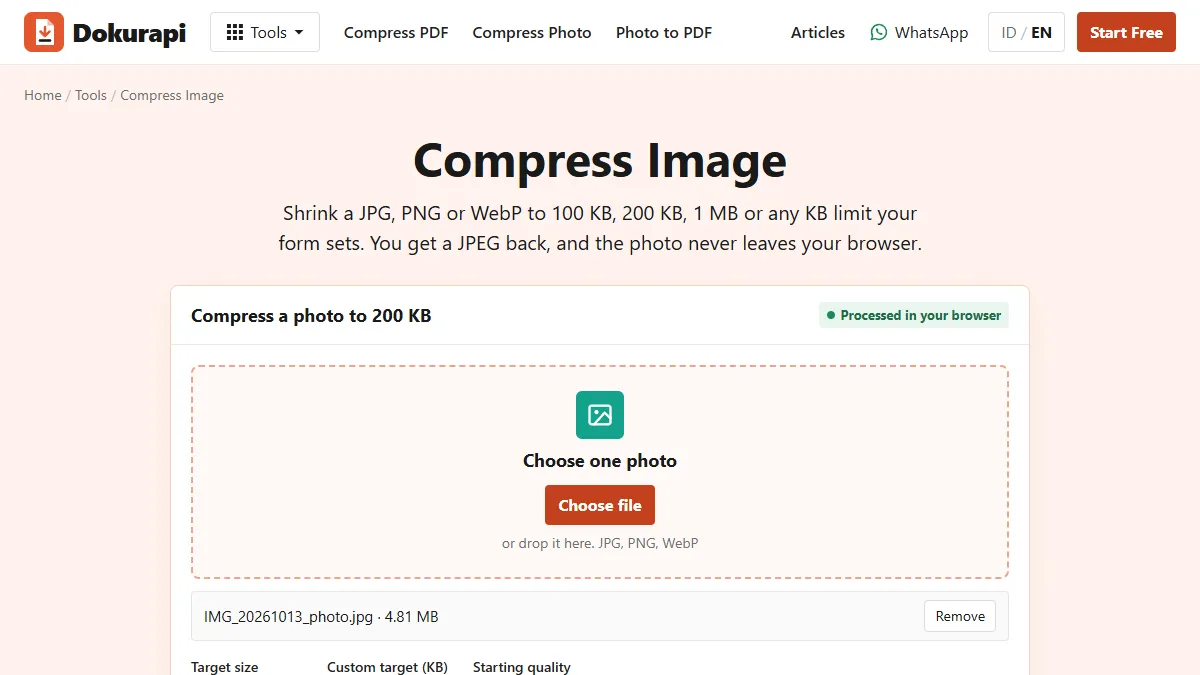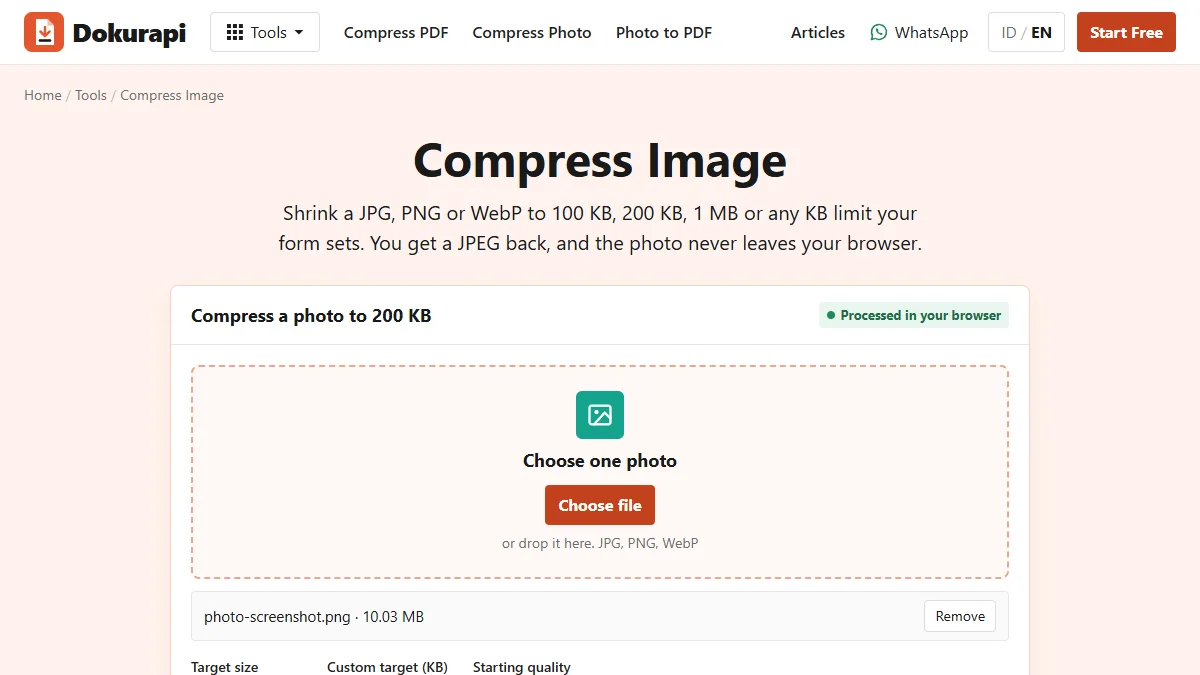
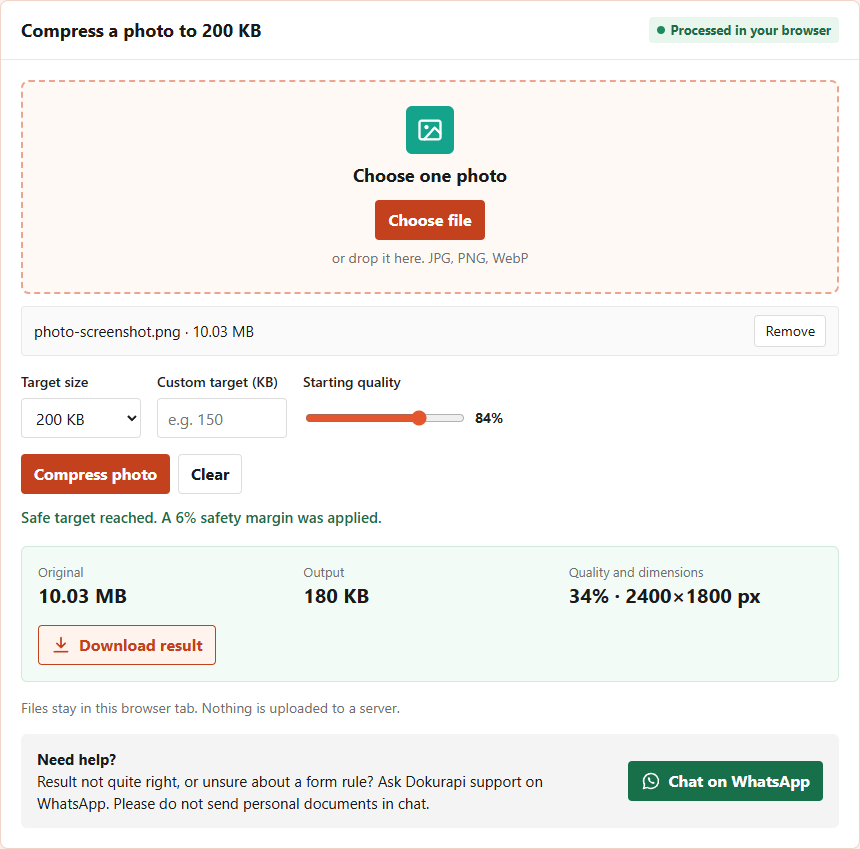
To compress PNG files for a form, open Dokurapi's Compress Image tool, choose the PNG, pick the size the form allows, press Compress photo and download the result. The tool turns the PNG into a JPEG inside your browser tab, so nothing is uploaded. In our test on 16 October 2026 a 10,029,518-byte PNG became a 179,523-byte JPEG at the 200 KB target. A small text screenshot behaved differently, and this guide shows why.
Every number below comes from files we downloaded from the live tool and from the tool's own code. The test files were made for this article and contain no personal data.
Why a PNG can be ten times bigger than a JPEG
PNG is a lossless format. The PNG specification from the W3C describes how every pixel is stored exactly and then packed with a general compression method. Nothing is thrown away, so a PNG opened and saved again looks identical every time. That is the reason PNG is the default for screenshots, logos, diagrams and anything with sharp text.
The packing works by finding repeated patterns. A screenshot of a form has long runs of the same white or grey pixel, so it packs very well. A photo has almost no exact repeats, because every pixel differs slightly from its neighbour through light, texture and sensor noise. Stored losslessly, a photo becomes enormous. That is why a phone screenshot of a photo, or a picture exported from an editor as PNG, often weighs 5 to 15 MB.
JPEG takes the opposite approach. MDN's image format guide describes it as lossy: it drops fine detail the eye barely notices and keeps the overall picture. For photos this saves a huge amount of space. For flat graphics with sharp edges it saves little and can add faint blotches around text. Knowing which kind of PNG you have tells you whether compressing it to JPEG is a good idea.
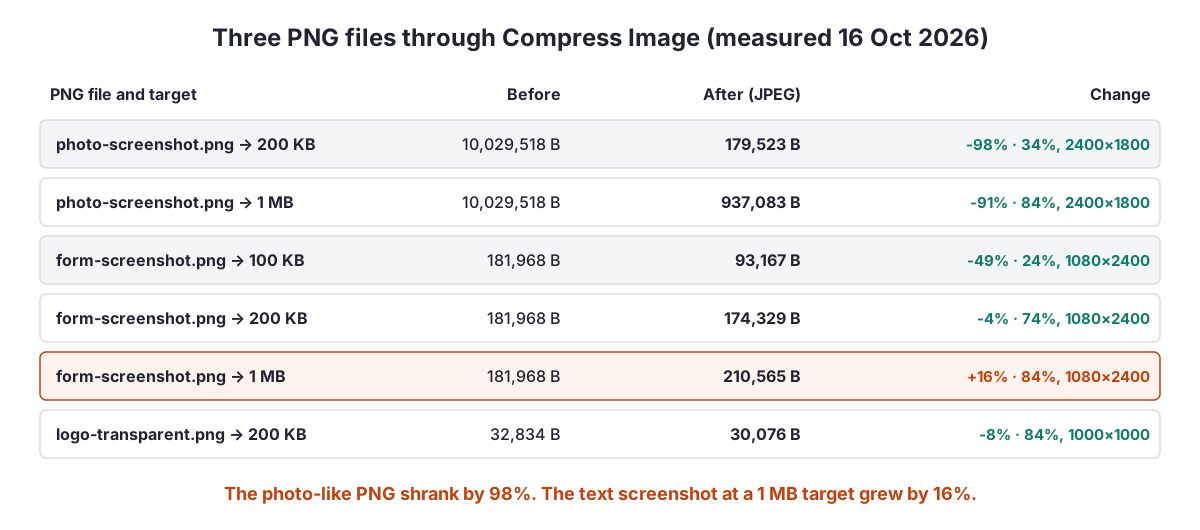
Our three test files show the range. The photo-like PNG, 2400 by 1800 pixels with photographic noise, weighed 10,029,518 bytes. A phone screenshot of a form, 1080 by 2400 pixels, weighed only 181,968 bytes. A transparent logo, 1000 by 1000 pixels, weighed 32,834 bytes. Same format, three very different starting points.
Ready to try it? The tool is free and runs in your browser.
Open the Compress Image toolWhat happens to a PNG inside the tool
The Compress Image tool accepts JPG, PNG and WebP, but it always returns a JPEG. The steps come straight from the tool's code. First the picture is drawn onto a canvas, with the longest side capped at 2400 pixels. The canvas is filled with white before drawing, so transparent areas become white. Then the browser encodes a JPEG through the standard canvas toBlob function, starting at 84% quality.
If the JPEG is still larger than your target minus a 6% safety margin, the tool lowers the quality by 10 points per try, up to seven tries, never below 18%. Only when quality alone is not enough does it shrink the pixel dimensions, and never below 640 pixels on the longest side. The tool stops at the first result that fits, which is why outputs land a little under the limit you picked.
Two consequences matter for PNG files. The result loses the PNG's exact pixels, because JPEG is lossy. And any transparency is replaced by white. For a photo-like PNG neither point is a problem. For a logo you want to place on a coloured slide, or a sticker with a see-through background, the white fill changes what the file is. Keep the original PNG for those uses.
Measured results: three PNG files, six runs
We ran each file through the English tool page and repeated the key runs on the Indonesian page, which gave identical byte counts. The table lists what the tool reported and what we downloaded.
| PNG file | Target | Before | After (JPEG) | Quality, pixels |
|---|---|---|---|---|
| photo-screenshot.png | 200 KB | 10,029,518 B | 179,523 B | 34%, 2400×1800 |
| photo-screenshot.png | 1 MB | 10,029,518 B | 937,083 B | 84%, 2400×1800 |
| form-screenshot.png | 100 KB | 181,968 B | 93,167 B | 24%, 1080×2400 |
| form-screenshot.png | 200 KB | 181,968 B | 174,329 B | 74%, 1080×2400 |
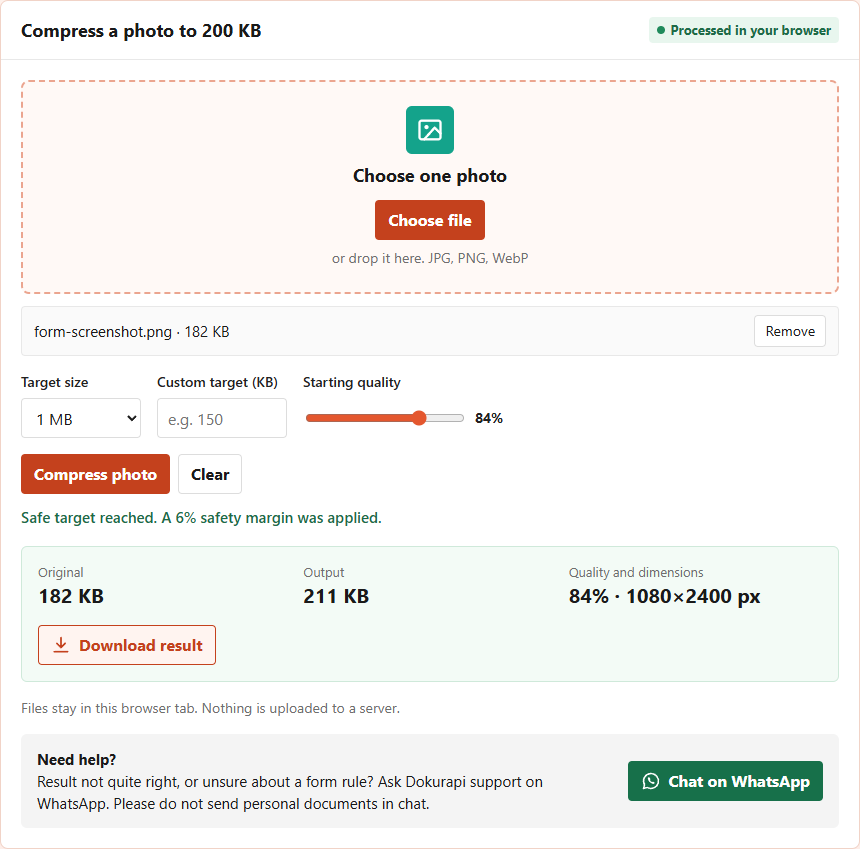
| form-screenshot.png | 1 MB | 181,968 B | 210,565 B | 84%, 1080×2400 |
| logo-transparent.png | 200 KB | 32,834 B | 30,076 B | 84%, 1000×1000 |
The photo-like PNG is the clear win. At the 200 KB target it dropped by 98% without losing a single pixel of width or height. Even the 1 MB target, which kept the starting quality of 84%, cut it by 91%. If your PNG is a photo, converting it to JPEG is almost always the right move.
The text screenshot is the warning. At a 1 MB target the tool had no reason to lower quality, so it saved at 84% and the file grew from 181,968 to 210,565 bytes, 16% bigger. The JPEG had to describe every sharp letter edge, which PNG had packed more cheaply. Choosing 200 KB pushed quality to 74% and brought it just under the original. Only the 100 KB target made it clearly smaller.
Text screenshots: pick a target below the original size
Screenshots of forms, chats, receipts and web pages are the PNGs people most often need to upload. They are also the ones most likely to surprise you. Because the original is already efficient, a generous target lets the tool keep high quality, and high-quality JPEG of sharp text is not small.
The fix is simple: choose a target below the original size. Our form screenshot was 182 KB, so the 200 KB target barely helped and the 1 MB target hurt. The 100 KB target gave 93,167 bytes at 24% quality. At that quality the text stays readable at normal zoom, but faint blocks appear around letters when you zoom in. Open the result at 100% and read a few small words before you upload it.
If the form accepts PNG and your screenshot already fits, upload the original. Converting gains nothing and loses sharpness. Use the tool only when the PNG is over the limit or the form demands JPG. The guide to checking file size before upload shows how to read the exact byte count on a phone or laptop.
For long screenshots there is another option: crop. A 1080 by 2400 screenshot often contains a status bar, a keyboard or empty space that the reviewer does not need. Cropping to the part that matters reduces pixels, and fewer pixels means a smaller file at the same quality. Crop in your gallery app first, then compress.
Transparent PNGs and logos
A transparent PNG has an extra channel that says how see-through each pixel is. JPEG has no such channel. When the tool draws your PNG onto its canvas it paints the canvas white first, so every transparent pixel becomes white in the output. The tool's code does this on purpose: without the white fill, browsers would turn transparent areas black.
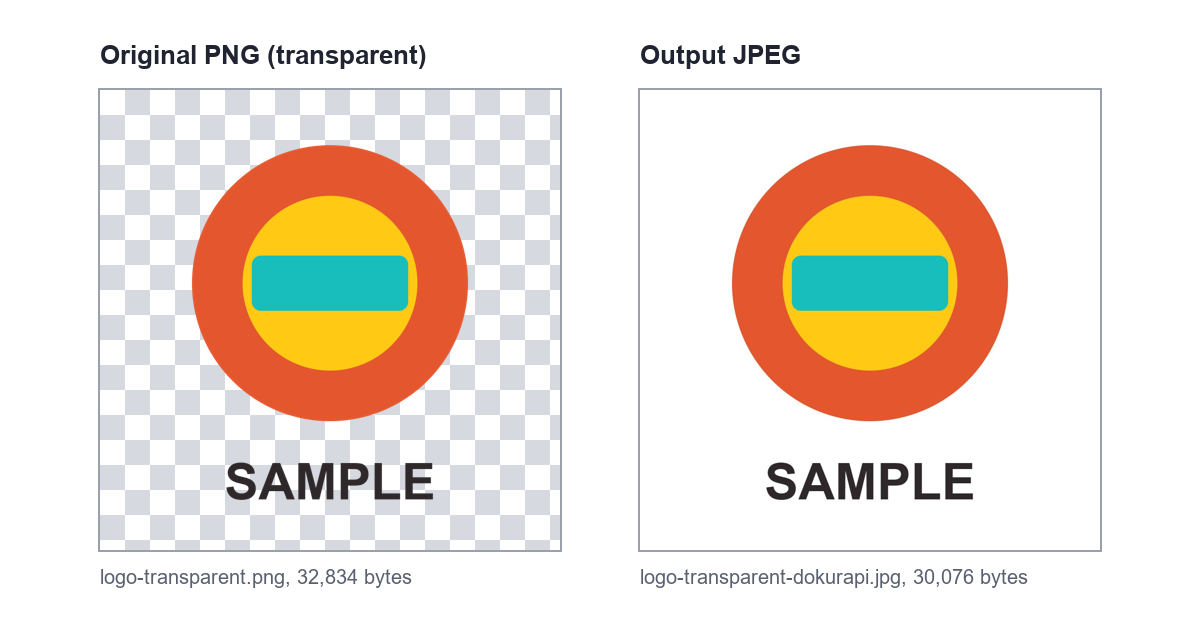
Our test logo shrank only from 32,834 to 30,076 bytes, 8% smaller. Flat colours with clean edges are exactly what PNG handles well, so there was little to gain. In an earlier test documented in our guide to compressing images, a transparent bar chart grew from 24.7 KB to 76.1 KB. Small graphics can go either way.
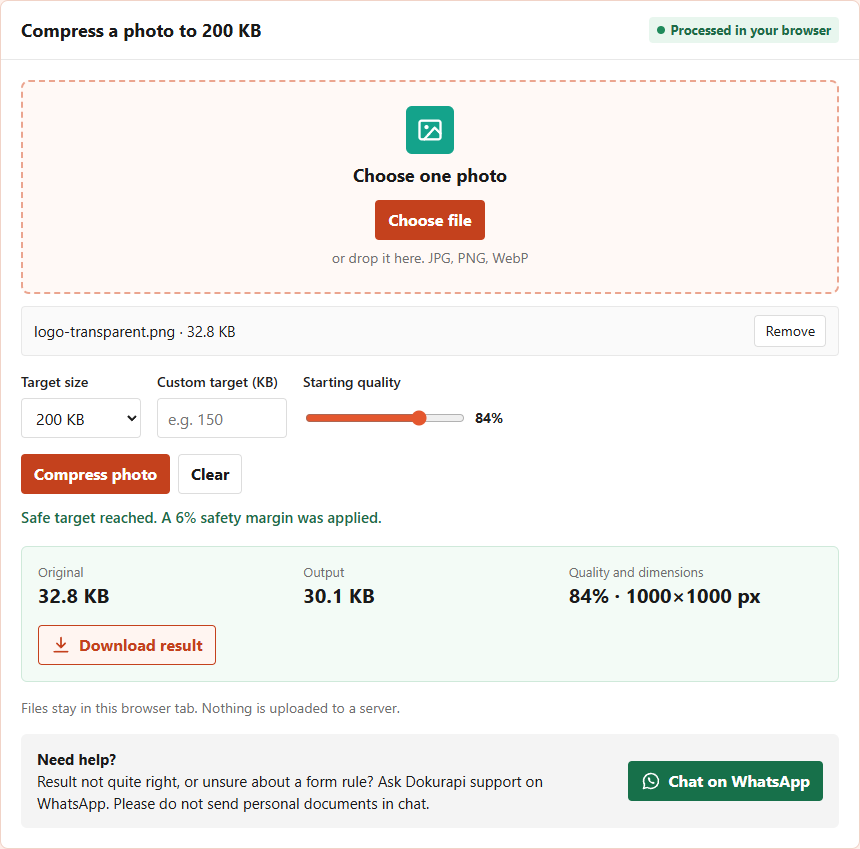
So for logos, stamps and signatures with a transparent background, ask what the form needs. If it only displays the image on a white page, the white fill is harmless. If you will place the file on a coloured background later, keep the PNG and look for a lossless PNG optimiser instead of converting to JPEG.
How to choose a target for a PNG
Start from the limit the form states, then compare it with the size of your PNG. The table gives a quick rule based on our measurements and the tool's behaviour.
| Kind of PNG | Typical size | What to do |
|---|---|---|
| Photo saved or exported as PNG | Several MB | Use the form's limit, for example 200 KB or 1 MB. Expect a large drop. |
| Screenshot of a form, chat or receipt | 100 to 400 KB | Pick a target below the original size, such as 100 KB. Check the text at 100% zoom. |
| Logo, stamp or signature with transparency | Under 100 KB | Upload the PNG if allowed. Convert only if white background is fine. |
| Scanned page saved as PNG | 1 to 5 MB | Compress to the limit, or turn it into a PDF with Photo to PDF first if the form wants PDF. |
Remember that Dokurapi counts 1 KB as 1,000 bytes. Some portals count 1,024. The 6% safety margin covers both: a 200 KB target aims for 188,000 bytes, which is under 200 times 1,024 as well. The NIST note on binary prefixes explains why the two counts exist.
If the result is still too large at the smallest target, the tool says the target was not reached and offers the smallest file it made. Our guide to files that stay too big covers the next steps, such as cropping or lowering the pixel count first.
Step by step: compress a PNG with Dokurapi
- Check the form's rule: maximum size, and whether it accepts PNG, JPG or both.
- Look at your PNG's size. If it is already under the limit and PNG is allowed, stop here and upload it.
- Open Compress Image and choose the PNG.
- Pick a target. For screenshots, choose one below the original size. For photo-like PNGs, use the form's limit.
- Press Compress photo and compare Original and Output in the result box.
- Download the result. The file name ends in -dokurapi.jpg.
- Open it at 100% zoom and read any small text before uploading.
If the form needs a PDF rather than an image, compress the PNG first and then build the PDF. Our test in the compress JPG to PDF guide shows why order matters: an image that is already small makes a small PDF.
For a passport-style photo with a red or blue background, the size rules are similar but the background rule comes first. The red background ID photo guide walks through that case.
Does the PNG leave my device?
No. The tool reads the file, draws it on a canvas and encodes the JPEG inside the browser tab. No upload request is made, and the original PNG on your device is not changed. You can confirm this yourself with the network panel of your browser, as explained in how Dokurapi's browser tools work.
This matters for screenshots, which often contain more than you notice: names in a chat, account numbers in a banking app, or notifications at the top of the screen. Crop those parts out before sharing the file anywhere, and never send screenshots of documents to a support chat. Describe the problem in words instead.
Frequently asked questions
How do I compress a PNG file?
Does the tool keep the PNG format?
Why did my PNG get bigger after compressing?
What happens to the transparent background?
How much smaller does a photo-like PNG get?
Is the text in a screenshot still readable after compressing?
What is the largest size the output can have in pixels?
Is my PNG uploaded to a server?
Sources
- W3C: Portable Network Graphics (PNG) Specification
- MDN: Image file type and format guide
- MDN: HTMLCanvasElement.toBlob()
- NIST: Prefixes for binary multiples
Need help?Result not quite right, or unsure about a form rule? Ask Dokurapi support on WhatsApp. Please do not send personal documents in chat.
Chat on WhatsApp