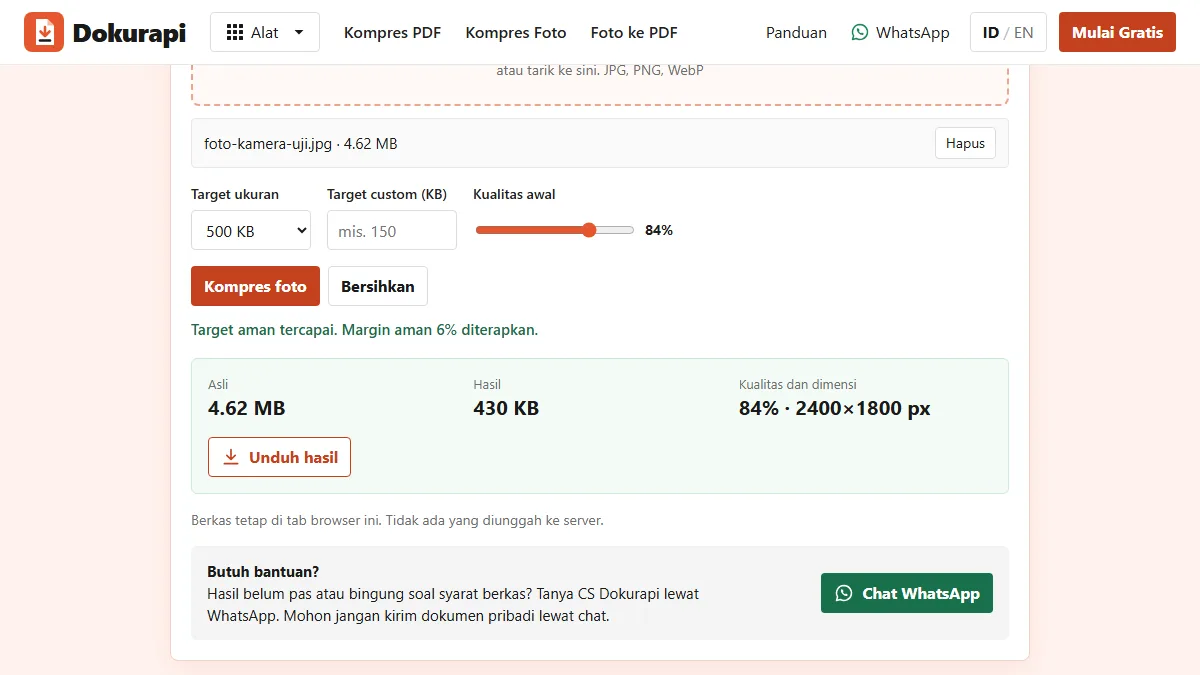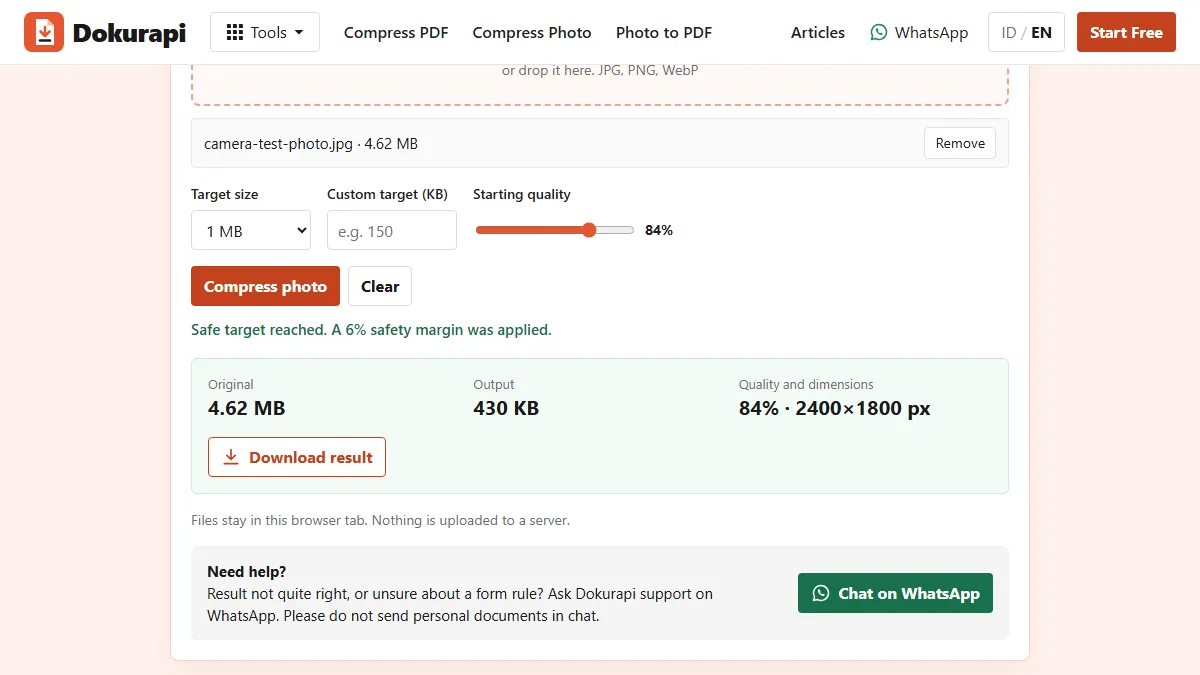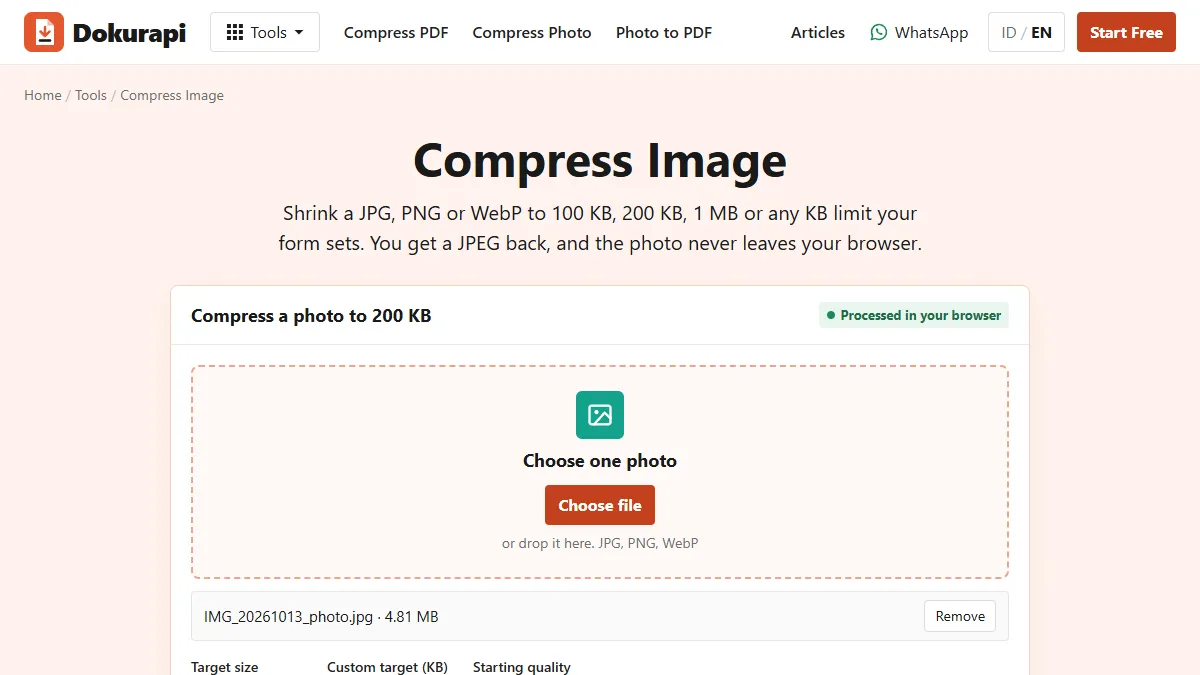
To compress image files for an upload form, open Dokurapi's Compress Image tool, choose the photo, pick the limit the form states (100 KB, 200 KB, 500 KB, 1 MB, 2 MB or your own number in KB), press Compress photo and download the result. The tool works inside your browser tab, so the photo is never uploaded. In our test on 14 October 2026, one 4,812,454-byte photo came out at 173,940 bytes for the 200 KB target and 84,958 bytes for the 100 KB target, both still 2400 by 1800 pixels.
This guide explains what the tool changes in your photo, how to choose a target, why a small PNG can come out bigger, and what to check before you upload. Every number below comes from files we downloaded from the live tool and from the tool's own code.
Why photos from a phone are so big
A modern phone camera records 12 million pixels or more. Each pixel stores colour information, and the camera saves the photo at a high JPEG quality so that you can crop or print it later. The result is a file of two to six megabytes for one picture. That is useful for keeping memories, but it is far more than an online form needs to show your face, your ID card or a receipt.
Upload forms set limits for practical reasons. Smaller files upload faster on slow connections, take less storage on the server and open quickly for the person who reviews them. Many Indonesian registration portals, school systems and job applications ask for photos between 100 KB and 1 MB. When your file is over the limit, the form usually refuses it without telling you by how much.
Two things decide how big a JPEG is: the number of pixels and the quality setting used when it is saved. Lowering either one makes the file smaller. Lowering the quality removes fine detail that the eye rarely notices at normal viewing size. Lowering the pixel count makes the picture physically smaller. A good compressor tries the gentle option first and only reaches for the stronger one when it has to. That is exactly the order the Dokurapi tool follows, as the next section shows. If you are not sure how big your file is to start with, the guide to checking file size before uploading shows how to read the exact byte count on any device.
Ready to try it? The tool is free and runs in your browser.
Open the Compress Image toolWhat the Compress Image tool does, step by step
The tool accepts one JPG, PNG or WebP file at a time and always gives back a JPEG. Here is the sequence, taken from the tool's code:
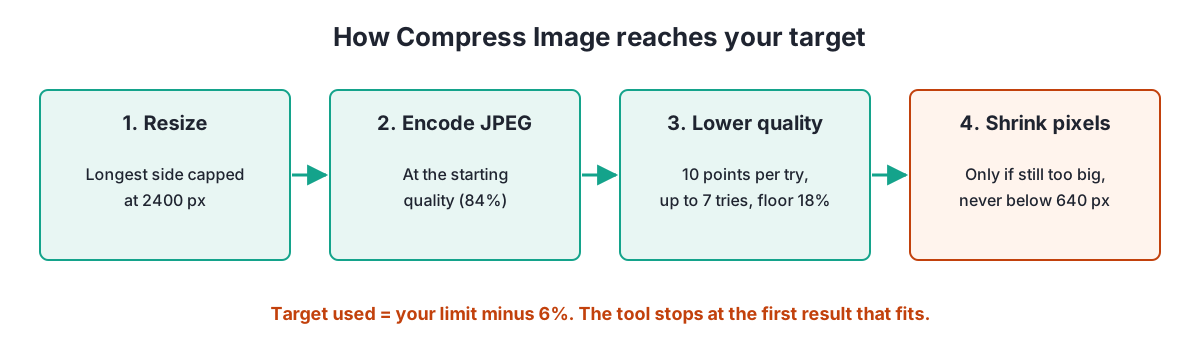
- It reads the photo in your browser and draws it on a canvas. If the longest side is larger than 2400 pixels, it is scaled down to 2400 pixels. A 4000 by 3000 photo becomes 2400 by 1800.
- It saves the canvas as a JPEG at the starting quality, which is 84% unless you move the slider (40% to 100%).
- If the file is still above the target, it lowers the quality by 10 points and tries again, up to seven times, never below 18%.
- If the lowest quality is still too big, it shrinks the pixel dimensions step by step, never below 640 pixels on the longest side, and tries qualities of 72%, 58%, 45% and 32% at each size.
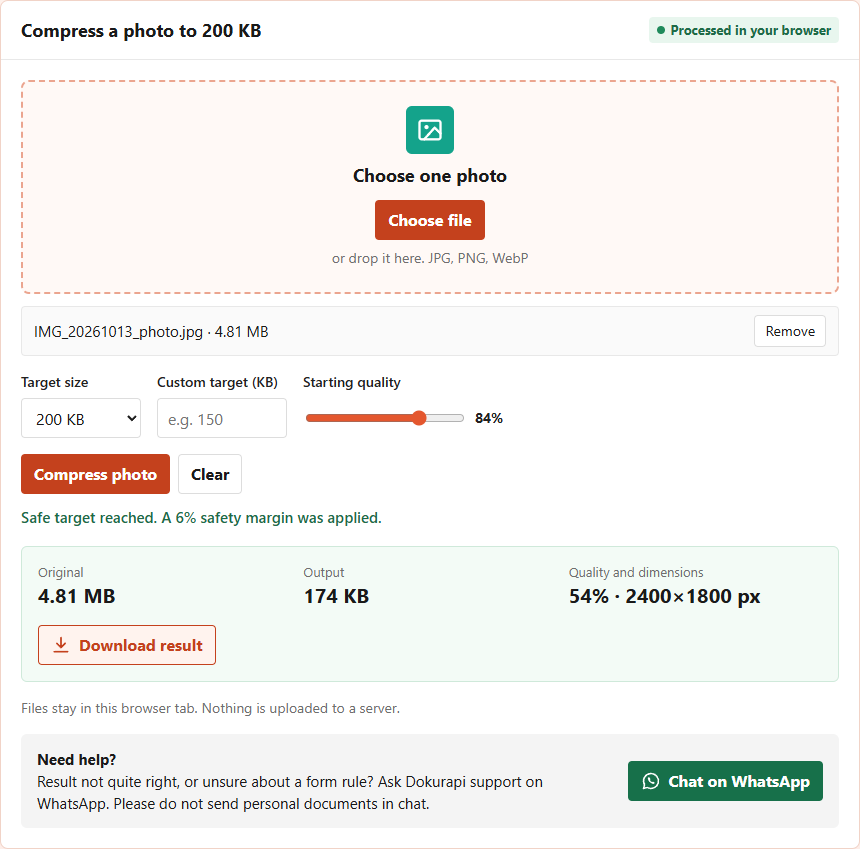
- It stops at the first result that fits and shows the original size, the output size, and the final quality and dimensions.
The canvas encoding is done by the browser itself through the standard canvas toBlob method, the same one every modern browser provides. Because the file never leaves the tab, the speed depends on your device rather than on an internet connection. On a recent laptop each of our tests finished in under four seconds.
The 6% safety margin and why your result is smaller than the target
When you choose 200 KB, the tool does not aim for exactly 200,000 bytes. It aims for 94% of it, which is 188,000 bytes. The reason is that websites do not all count kilobytes the same way. Some count 1 KB as 1,000 bytes, others as 1,024 bytes, as explained in the NIST note on binary prefixes. A file of 199,000 bytes is under 200 KB by one rule and very close to the edge by the other. Some forms also add a few bytes of their own when they process an upload.
The margin keeps you safely under the limit whichever rule the form uses. That is why our 200 KB result was 173,940 bytes rather than 199,000. The tool reached 54% quality, found the file under 188,000 bytes and stopped. It did not go back up to squeeze in a few more percent of quality, because the next step up, 64%, was above the safe target.
If you want to use a limit that is not in the list, type it in the Custom target box in KB. The same 6% margin applies. For a form that says "maximum 150 KB", type 150 and the tool aims for 141,000 bytes. If a form states its limit in megabytes, multiply by 1,000: 1.5 MB becomes 1500. For PDFs rather than photos, the same idea is explained in compressing a PDF to 200 KB.
Measured results: one photo, four targets
We used one synthetic test photo, a computer-generated pattern of 4000 by 3000 pixels with fine detail across the whole frame, saved as a 4,812,454-byte JPEG. Fine detail everywhere is harder to compress than a typical portrait with a plain wall behind it, so real photos usually reach a target at a higher quality than this one. We ran it through the live tool on 14 October 2026 and measured each downloaded file.
| Target | Safe target | Downloaded file | Quality | Dimensions |
|---|---|---|---|---|
| 1 MB | 940,000 B | 528,062 B | 84% | 2400 × 1800 |
| 200 KB | 188,000 B | 173,940 B | 54% | 2400 × 1800 |
| 100 KB | 94,000 B | 84,958 B | 24% | 2400 × 1800 |
| 30 KB (custom) | 28,200 B | 23,362 B | 32% | 927 × 696 |
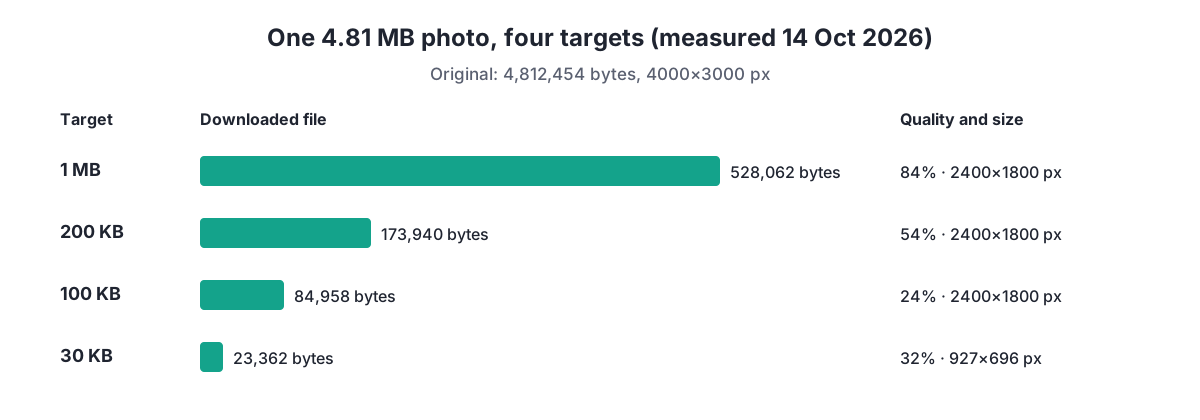
Three results stand out. First, the 1 MB target needed no quality change at all: resizing to 2400 pixels at 84% already gave 528 KB. Second, 200 KB and 100 KB were reached by lowering quality alone, so the picture stayed the same size on screen. Third, only the very small 30 KB target forced the tool to cut the dimensions, down to 927 by 696 pixels. That is still enough for a face photo on a form, but too small to read a document.
How to choose the right target
Always start from the limit the form states, not from the smallest number you can reach. A photo compressed far below the limit loses detail for no benefit. If the form says 500 KB, pick 500 KB. If it says "between 100 KB and 300 KB", pick a custom target of 300 so the file lands safely inside the range, then confirm it is above the minimum.
Also consider what the photo has to show. A pas foto or selfie needs a clear face, which survives compression well. A photo of a document, such as a KTP, a certificate or a receipt, has small text that becomes blurry first. For documents, choose the largest target the form allows, and check that every number is still readable after compression. In our test the 100 KB target needed 24% quality, as the results chart above shows.
For specific limits there are dedicated pages with the preset already chosen: compress image to 100 KB, 200 KB, 500 KB and 1 MB. The articles on compressing JPG to 500 KB and compressing JPG to 1 MB go deeper into those two sizes with their own measured tests.
When the target is very small
Some forms ask for tiny files, such as 30 KB or 50 KB, often for an avatar or a signature. At those sizes quality alone is not enough. Our test photo hit the 18% quality floor while still above 28,200 bytes, so the tool moved to the next step and began shrinking the pixel dimensions. It settled on 927 by 696 pixels at 32% quality, giving 23,362 bytes.
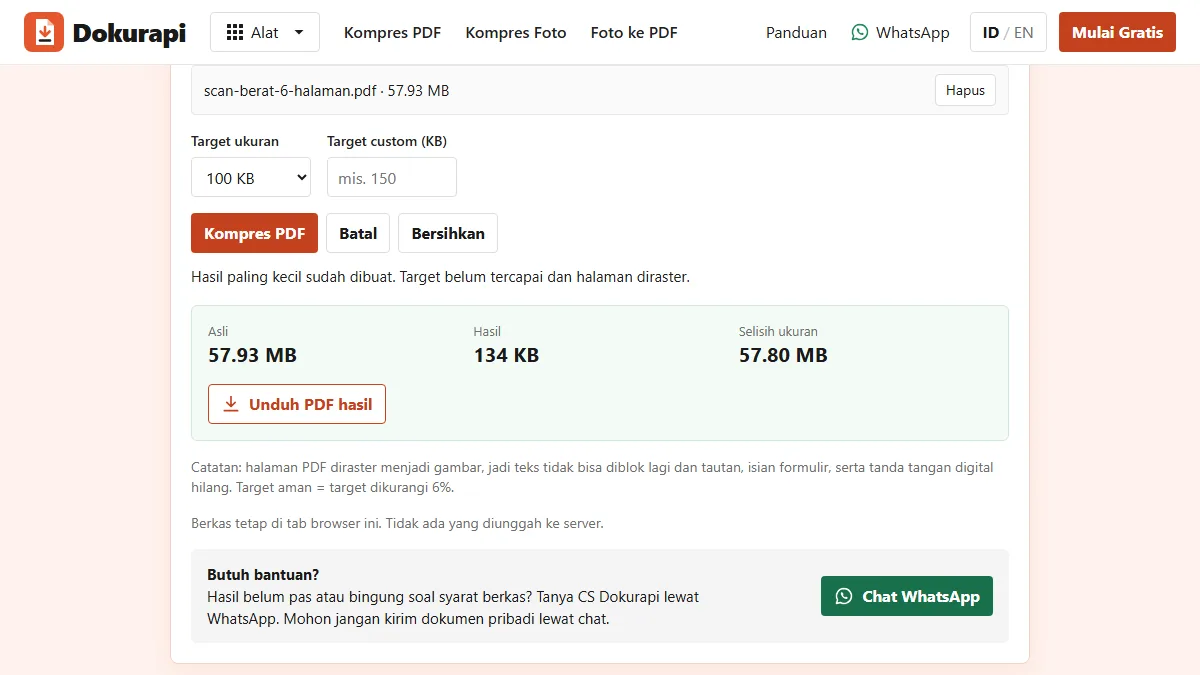
Notice that the final quality, 32%, is higher than the 18% floor. When the picture has fewer pixels, each one can be stored with more care for the same number of bytes, so the tool chooses the best quality that fits at the smaller size. The tool will not go below 640 pixels on the longest side. If a file is still too large at that point, the result panel says the target was not reached, and you get the smallest file it could make. In that case, crop the photo to the part that matters before compressing, which removes pixels without making the subject smaller. The article on files that still will not reach the target covers more fixes.
PNG, WebP and transparent images
The tool accepts PNG and WebP as well as JPG, but it always saves a JPEG. That has two consequences worth knowing. JPEG has no transparency, as the MDN image format guide explains, so the tool paints a white background behind the image before saving. A logo or chart with a transparent background therefore comes out on white.
The second consequence is size. PNG is very efficient for flat graphics such as charts, screenshots and logos, because large areas share the same colour. JPEG is designed for photos. When we compressed a 24.7 KB transparent PNG chart of 1600 by 1000 pixels, the tool reported "safe target reached" because the result, 76,064 bytes, was under 200 KB. But the result was about three times bigger than the original.
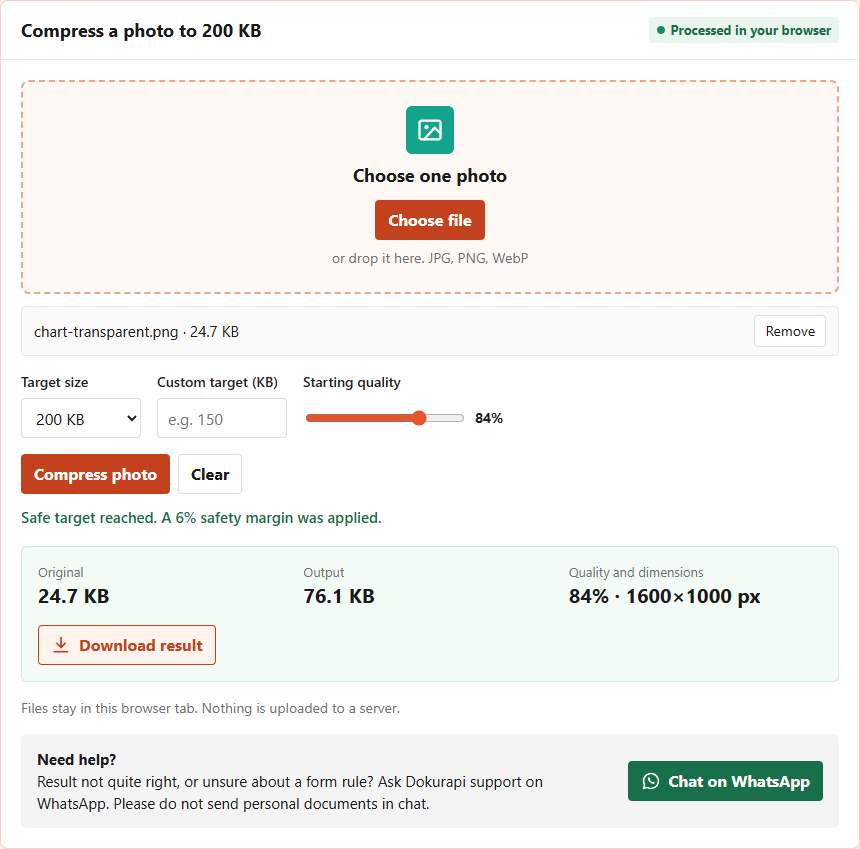
The rule is simple: compare the Original and Output numbers before you download. If the original is already under the form's limit, you do not need to compress at all, and if the output is bigger, keep the original.
Checklist before you upload
| Check | How | If it fails |
|---|---|---|
| Size under the limit | Read the Output value, or open the file in the size checker | Choose a lower target or crop the photo |
| Format accepted | The download is always .jpg | If the form wants PNG, do not use this tool |
| Readable details | Zoom to 100% on text, numbers and faces | Use a higher target or crop first |
| Right orientation | Open the file before uploading | Rotate in your gallery app, then compress again |
| Not bigger than before | Compare Original and Output | Upload the original instead |
Wrapped in the right size, a photo still has to meet the form's other rules. Background colour, crop and pixel dimensions are decided by the form, not by file size. If the form asks for a red or blue background, the red background passport photo tool and the blue background tool help with that step before compression. If you need several photos in one file, compress each one first and then use Photo to PDF, as described in compress JPG to PDF.
Is it safe to compress ID photos here?
Photos for forms often show faces, ID numbers and addresses. That is why the Dokurapi tool does everything in the browser: the photo is read from your device into the page, drawn on a canvas, encoded and offered back as a download. No upload request is made, and the original file on your device is not changed. The article on how browser-only file tools work explains the method and how to check it yourself with the browser's network panel.
Two habits keep you safe with any tool. Download the result to a folder you control, and delete copies you no longer need from shared computers. And never send ID photos to a support chat; if something goes wrong, describe the problem in words instead.
Frequently asked questions
How do I compress an image to a specific size?
Does compressing an image reduce its quality?
Why is my compressed image smaller than the target?
Can I compress PNG and WebP files?
What is the largest size the output can be?
What happens if the target is too small?
Is my photo uploaded to a server?
Should 1 KB be 1,000 or 1,024 bytes?
Sources
- MDN: HTMLCanvasElement.toBlob() and JPEG quality
- MDN: Image file type and format guide
- NIST: Prefixes for binary multiples
Need help?Result not quite right, or unsure about a form rule? Ask Dokurapi support on WhatsApp. Please do not send personal documents in chat.
Chat on WhatsApp