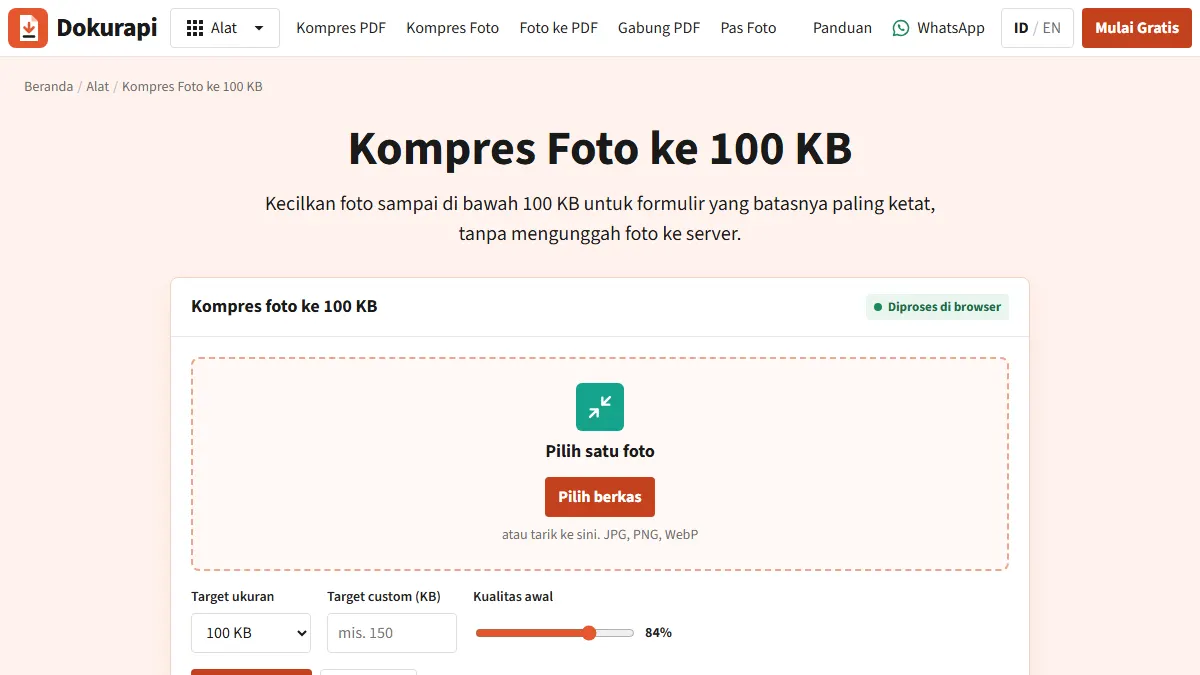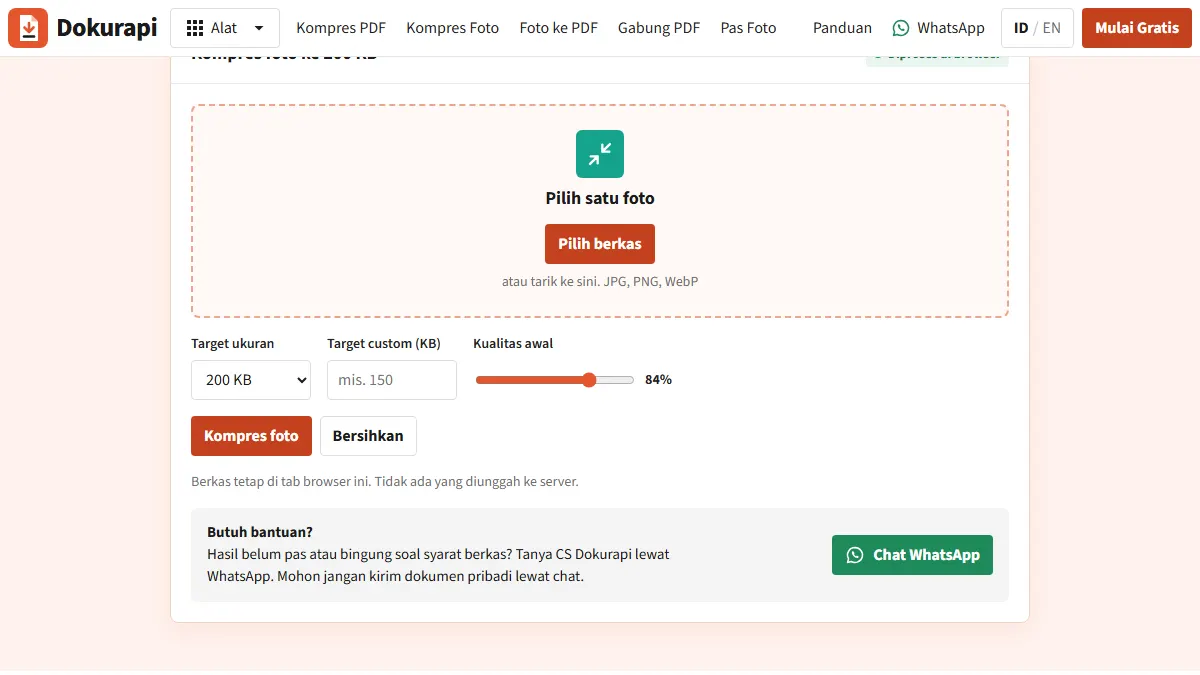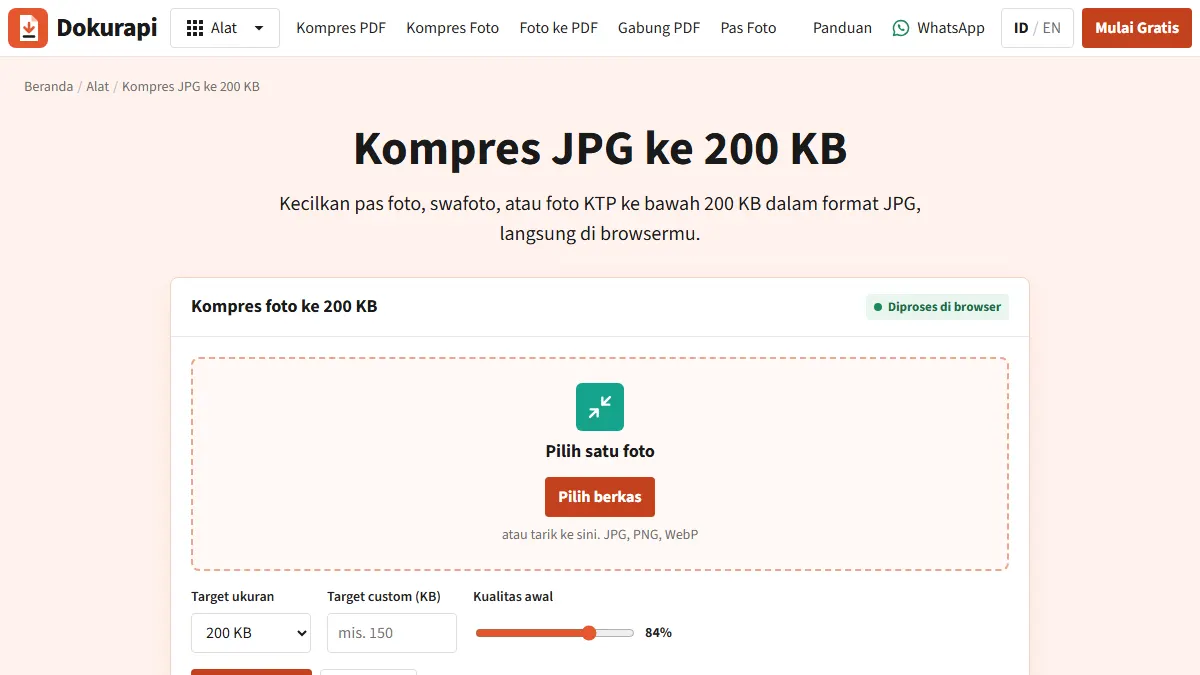
The quickest way to compress JPG to 200kb without handing your file to a server: open Dokurapi's Compress Photo to 200 KB tool, add your image, press compress, and confirm the output size is under 200 KB before you download. The tool targets 188,000 bytes, not exactly 200,000, and the whole job happens in your browser on this device. Nothing is uploaded, which matters when the file is your photo, your signature or a government ID.
200 KB is one of the most common ceilings for application photos. UPSC's upload instructions, for instance, ask for a photo between 20 KB and 200 KB, and Indonesia's 2023 civil service FAQ caps the photo, selfie and ID card scans at 200 Kb each. Those are dated examples from official documents linked below; the notification for your own application is what counts.
Compress a JPG to 200 KB in six steps
- Use the original image. A copy that has already been through a chat app has lost detail, and compressing it again makes the damage more visible.
- Open the tool and add the file. JPG, PNG and WebP are accepted, one image per run.
- Check the target. 200 KB is preselected. For any other limit, use the custom KB box.
- Press compress. The tool starts at 84% quality and only goes lower if the file is still too big.
- Read the result panel. Original size, output size, final quality and pixel dimensions are shown. "Safe target reached" means the file is under 188,000 bytes.
- Zoom in, then download. Check the face, hairline and any printed text. The saved file ends in
-dokurapi.jpg.
For an ordinary phone photo, 200 KB is a fairly relaxed target compared with 100 KB, so quality usually stays high. Trouble tends to start only with very large images full of fine detail. If you are new to the idea of trading quality for size, our general guide on how to compress an image explains the basics first.
Ready to try it? The tool is free and runs in your browser.
Open the Compress Photo to 200 KB toolWhy the result is about 188 KB
Dokurapi counts 1 KB as 1,000 bytes, which is what the SI prefix kilo means. The 1,024-byte unit is properly called a kibibyte (KiB), as explained in NIST's page on binary prefixes. In practice, plenty of software mixes the two. Windows File Explorer divides by 1,024 yet still writes "KB", which is how a file can look like 199 KB on your laptop and still be refused.
Since portals seldom say how they count or round, the tool applies a 6% safety margin: 200 x 1,000 x 0.94 = 188,000 bytes, or about 183.6 KiB. Either way you count it, that is under 200 KB.
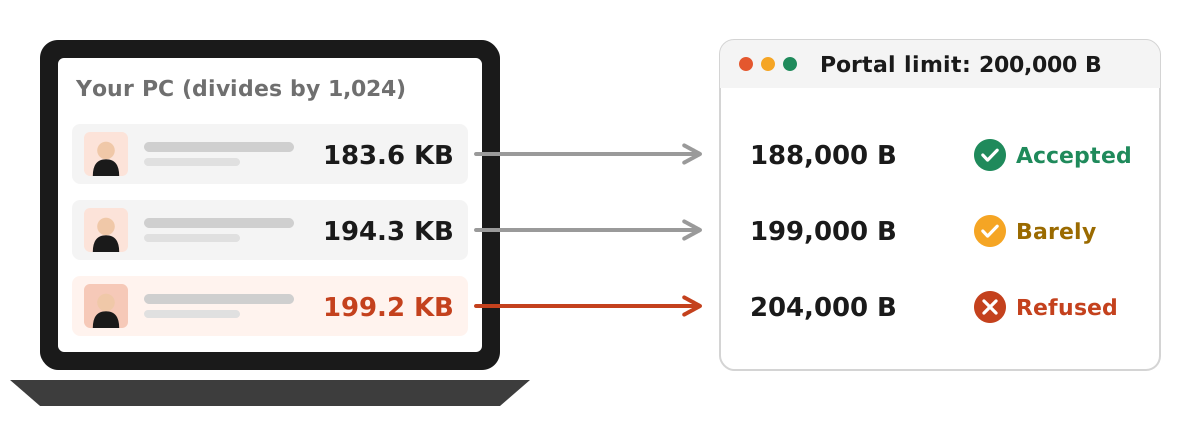
| File size in bytes | Shown as (1,000) | Shown as (1,024) | Safe for a 200 KB limit? |
|---|---|---|---|
| 188,000 | 188 KB | 183.6 KB | Yes, this is Dokurapi's target |
| 199,000 | 199 KB | 194.3 KB | Yes, but with almost no room |
| 204,000 | 204 KB | 199.2 KB | No, even though your PC says under 200 |
Where 200 KB limits come from
Here are three official examples, each labelled with its document and date. They show how a 200 KB ceiling usually comes with other conditions attached.
| Source | What it says about photos |
|---|---|
| UPSC photo and signature upload instructions (current PDF, checked October 2026) | JPG photo between 20 KB and 200 KB; the face must cover at least three quarters (75%) of the photo, against a plain white background. |
| CSIR NET June 2025 information bulletin (NTA) | Recent photograph in JPG, 10 KB to 200 KB, with 80% of the face visible, including ears, against a white background. |
| Indonesia CPNS 2023 FAQ (SSCASN, BKN) | Scans of the red-background photo, selfie and ID card, each at most 200 Kb, jpeg/jpg. |
Sources: UPSC upload instructions, CSIR NET June 2025 bulletin, CPNS 2023 FAQ. Indonesian applicants can find the full document list in our SSCASN upload requirements guide.
Notice the lower limits. Both Indian examples set a minimum, 20 KB for UPSC and 10 KB for CSIR NET, so a photo squeezed far below the ceiling can fail for being too small. With the 200 KB preset, Dokurapi lands near 188 KB, well inside both ranges. If a form asks for a tighter limit, our guide on how to compress an image to 100 KB covers the trade-offs.
Pick the right target before you compress
The best target is the loosest one the portal allows. Every step down in size costs some detail, so compressing a photo to 200 KB for a form that would take 1 MB only throws quality away. Read the limit in the notification, then match it to a preset or type it into the custom box.
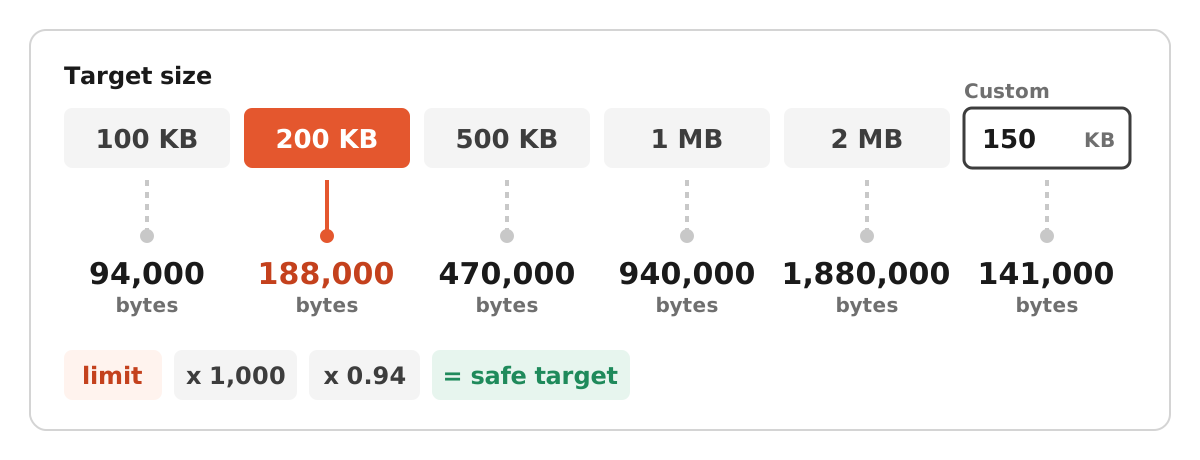
The image tools carry presets for 100 KB, 200 KB, 500 KB, 1 MB and 2 MB, and the same 6% margin applies to each. For a limit between presets, such as 150 KB, type 150 into the custom KB box and the tool aims for 141,000 bytes. For looser limits, the 500 KB photo tool and the 1 MB photo tool keep more detail, and the guide to compressing a JPG to 500 KB explains when that size is worth using. A form with a strict 100 KB ceiling belongs in the 100 KB photo tool instead.
JPG, JPEG or PNG?
JPG and JPEG are the same format with two spellings of the extension, so a .jpg file is fine where a portal asks for jpeg. PNG is different. It keeps every detail, which suits screenshots and diagrams, but a PNG photo is often several times larger than the same photo as JPG.
Do not just rename a .png to .jpg. The contents stay PNG, and a portal that inspects the file can reject it. Dokurapi redraws the image and saves a genuine JPEG through the browser canvas, whose toBlob method takes a JPEG quality setting, as described in MDN's documentation. Transparent PNG areas become white, because the canvas is filled with white before the image is drawn.
WebP files from newer phones and browsers are accepted as input too, and they come out as JPEG. That is usually what you want, since many application portals list only jpg or jpeg. If the portal asks for a PDF rather than an image, convert with the photo to PDF tool instead of sending a JPEG.
How the tool decides quality and size
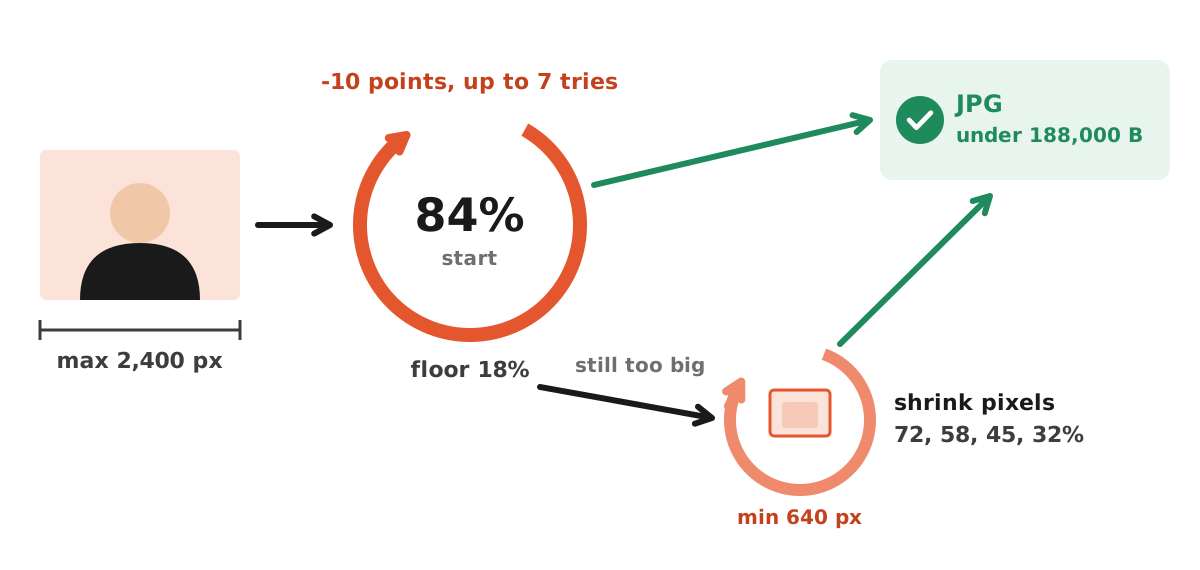
- Images longer than 2,400 pixels on their longest side are scaled down to 2,400. Smaller images are left at their size.
- The first attempt uses your starting quality, 84% by default. The slider runs from 40% to 100%.
- If the file is over 188,000 bytes, quality drops by 10 points and the tool tries again, up to seven times, never going below 18%.
- If the file is still too big at that floor, the tool shrinks the pixel dimensions step by step and tries qualities of 72%, 58%, 45% and 32% at each size, keeping the smallest file. The longest side never goes below 640 pixels.
- You always get the result, its size, the quality used and the final dimensions. If the target was not reached, the panel says so.
At 200 KB, the last two stages rarely run for a normal portrait. The tool never crops, though. Deciding what part of the picture can go is a judgement only you can make, and dimension rules vary by portal, so check the result panel's pixel numbers against the notification.
Take a photo that compresses well
Compression does its best work on simple images, so a few habits at the camera stage save a lot of quality later. Stand in front of a plain wall: an even background takes far fewer bytes than a bookshelf or a window. Shoot in daylight, because a dim photo is full of grainy noise and the encoder spends bytes preserving that grain.
For an ID card, lay it on a plain surface and shoot straight down so you do not need to rotate or crop at an angle afterwards. Crop before compressing. A tightly framed portrait meets face coverage rules like the UPSC one and leaves more of the 188 KB budget for the details that matter.
If the portal wants a coloured background, fix that before you compress. The red background photo tool and the blue background photo tool separate you from the background in the browser and export a 600-pixel-wide JPEG. Check its size afterwards; compress it only if it is still over the limit.
Troubleshooting
The result is far below 188 KB and you want it sharper
If the panel shows, say, 90 KB at 84%, there is unused room. Move the starting quality slider up to around 95% and compress the original again. The tool only lowers quality when the file goes over the limit, so you get a sharper file that still fits.
The pixel size dropped
That means quality alone could not reach 188,000 bytes, usually with a huge, detailed image. Crop to what matters (head and shoulders for a portrait, just the card for an ID scan) and compress the cropped file, so the bytes go to the subject instead of the background.
Text on an ID scan breaks up
Crop away the table or background so the card fills the frame, and avoid lamps that create glare on the card surface. A card that fills the image stays readable even in a small file.
The portal still rejects the file
Size is only one check. Look at the format, any minimum size, pixel dimensions, face coverage, background colour and file name. If the portal wants a PDF, a document tool such as Compress PDF to 200 KB is the right route. When a file stays stubbornly big, the guide on what to do when a compressed file is still too big goes through the other options.
Before you upload
A two-minute check before upload saves a rejected application or a second login. Run through these five points with the downloaded file, not the original.
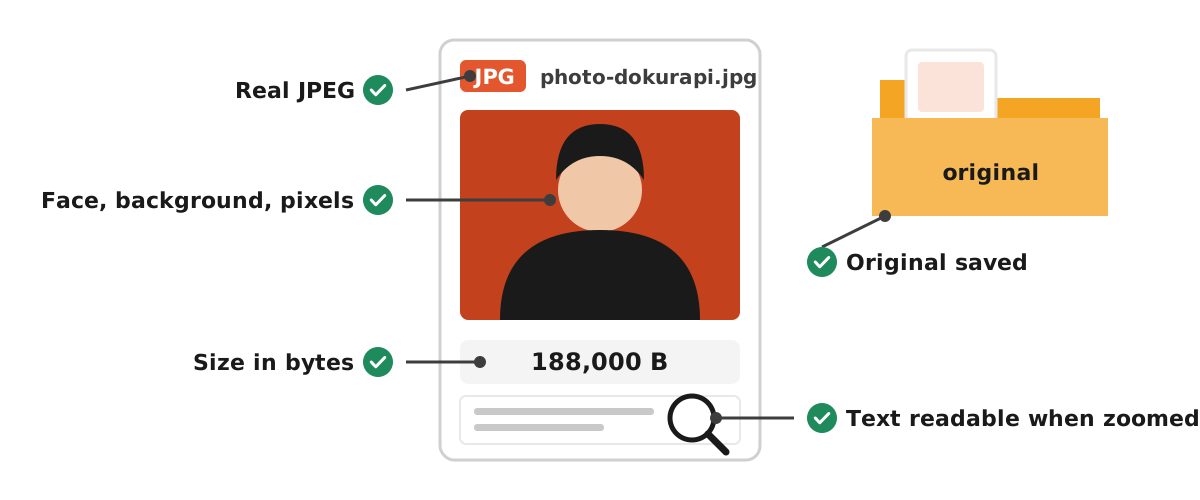
- Size is under the maximum and above any minimum, checked in bytes.
- The file is a real JPEG, not a renamed PNG.
- Face coverage, background and dimensions match the notification.
- Every word on scanned documents is readable when zoomed in.
- The original file is saved separately.
To read the exact byte count on Windows, Android or an iPhone, follow our guide to checking file size before upload. It shows where each system hides the bytes figure, which is the number that decides whether 199 KB really means under 200. If any point fails, go back to the original, fix the problem there and compress again, rather than compressing the output a second time.
Honest limits
Dokurapi gives you a smaller copy and its exact size. It cannot guarantee that a portal will accept it, because rules change between cycles and portals check more than size. Treat the figures here as dated, verifiable examples and confirm them against the latest official notification.
The tool also cannot rescue a photo that was blurry, dark or badly framed to begin with. Compression only removes information, so start from the best original you have. And because the work happens on your device, a very old phone may take a few seconds longer on a large image than a laptop would.
What it does promise is privacy by design: the image is processed inside this browser tab and never sent to a Dokurapi server. Our explainer on how browser-based tools work shows what that means in practice and how you can check it yourself. Questions the tool cannot answer, such as whether a portal will take your file, belong with the portal's helpdesk.
Frequently asked questions
How can I compress a JPG to 200kb online without uploading it?
Why does the tool make my file 188 KB?
What photo size does UPSC accept?
Will compressing to 200 KB make my photo blurry?
Can I rename a PNG to JPG to meet the format rule?
Does the tool change the pixel dimensions of my photo?
Can I use the same tool for a signature with a smaller limit?
My photo is already under 200 KB. Should I still compress it?
Is camera location data kept in the compressed file?
Sources
- Instructions for uploading photo and signature, UPSC
- Information Bulletin, CSIR NET June 2025, National Testing Agency
- FAQ CPNS 2023, SSCASN Badan Kepegawaian Negara
- Prefixes for binary multiples, NIST
- HTMLCanvasElement: toBlob() method, MDN Web Docs
Need help?Result not quite right, or unsure about a form rule? Ask Dokurapi support on WhatsApp. Please do not send personal documents in chat.
Chat on WhatsApp