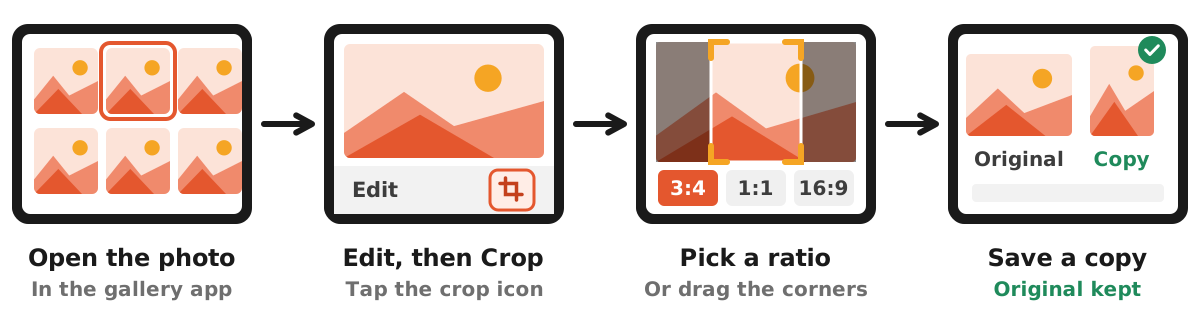
The quickest way to crop a photo is the gallery app that came with your device: open the photo, tap Edit, choose Crop, drag the frame corners or pick an aspect ratio, then save. The flow is the same on iPhone, Android, Windows, and Mac, only the button names change. This guide walks through the official steps for each device, the ratios that suit ID photos and upload forms, and how to crop a portrait to 3:4 right in your browser without sending the file to a server.
Cropping means cutting away the edges you do not need. It can make the subject clearer, change the shape to match a requirement, and slightly lower the file size because pixels are removed. What cropping does not do is bring the file under a precise KB limit, so if a form caps the file size you still need a compression step afterwards.
What cropping is and when you need it
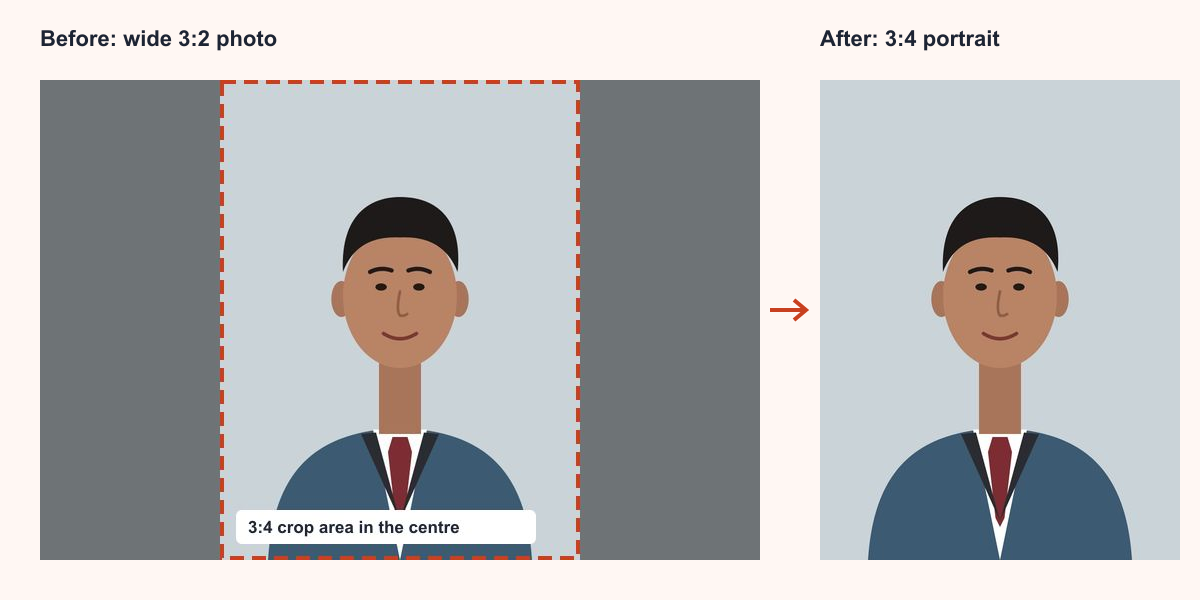
To crop is to keep part of a photo and discard the rest. The difference from resizing matters: resizing changes the pixel count of the whole photo without removing anything, while cropping removes everything outside the frame you choose. That is why cropping is the only way to change a photo's aspect ratio without squashing faces or objects.
The situations that most often call for a crop:
- An ID photo taken with a phone that is too wide and has to become a 3:4 or 2:3 portrait. Print sizes are covered in 3x4 photo size and 4x6 photo size.
- A photo of a document that still shows the desk, your fingers, or shadows around the paper, before you turn it into a file with scan a document to PDF.
- A profile picture that must be square.
- A screenshot with notifications or private details along the top.
One rule applies every time: save the cropped result as a copy. Once part of a photo is cut away and saved over the original, those pixels are gone unless your app keeps an edit history.
Ready to try it? The tool is free and runs in your browser.
Open the Blue Background ID Photo toolHow to crop a photo on iPhone
On iPhone, cropping happens in the Photos app. According to the iPhone User Guide from Apple, the steps are:
- Open Photos and tap the picture you want to crop.
- Tap the edit button, then choose the crop tool.
- Drag the rectangle corners to enclose the area you want to keep, or pinch open or closed.
- For a standard ratio, tap the aspect ratio button and pick an option such as Square, Wallpaper, 9:16, or 5:7.
- Tap Done to save your edits.
One behaviour confuses many people. Apple notes that when you drag a corner, the crop tool keeps the photo's original aspect ratio. To crop freely, tap the lock at the top-right corner to unlock the aspect ratio. If the frame refuses to take the shape you want, check the lock first.
Apple also describes a shortcut: while viewing a photo, pinch to zoom in, and when it looks the way you want it cropped, tap Crop in the top-right corner. The iPhone presets do not include a 3:4 label for ID photos, so for a photo that must be exactly 3:4 a dedicated ID photo tool is easier because the ratio is fixed. Edits in Photos can be reverted later by opening the photo, entering edit mode, and choosing Revert.
How to crop a photo on Android with Google Photos
Most Android phones use Google Photos as the gallery, or can install it. The Google Photos Help Center describes the flow:
- Open the Google Photos app and open the photo you want to edit.
- At the bottom, tap Edit, then Crop.
- Drag the crop handles to the size you want.
- For a specific shape such as a square, tap Aspect ratio.
- Save the result, choosing save as copy when it is offered so the original stays.
The same Crop menu holds Straighten, Rotate, and Perspective. Perspective is handy for a document shot at an angle, because you can pull the paper corners back into a rectangle before cropping tight. Google also mentions Auto frame, which uses AI to fill in or extend parts of an image. For anything that serves as evidence or as an official ID photo, avoid tools that add AI-generated content, since the result no longer matches what the camera captured.
Phone makers that ship their own gallery app usually have a crop tool with a similar name or a frame icon. The order of steps almost always matches Google Photos, so this guide still applies.
How to crop a photo on Windows and Mac
Windows. The built-in Photos app is enough. Microsoft Support says to type Photos in the taskbar search box, open the app, select the photo, then select Edit image at the top of the screen (the shortcut is Ctrl + E). Under Crop you can trim unwanted parts manually or use preset aspect ratios, rotate the photo by 90 degrees or by smaller increments, and flip the image. To cancel all edits, Microsoft points to the Reset button at the top left.
Mac. In Photos on a Mac, the Photos User Guide from Apple explains: double-click a photo, click Edit in the toolbar, then click Crop. Drag the selection rectangle to crop by hand, or click an aspect ratio in the sidebar. Apple's own examples are Square for a square photo, a preset such as 4:5 for printing, and 16:9 for high definition video. There is also an Auto button that crops and straightens for you, though the result is still worth checking.
On a laptop, cropping is easiest with a mouse or trackpad because you can nudge the frame precisely. If the result is going into a form, check its final dimensions in the file properties before uploading.
Choosing a crop ratio: ratios and resulting pixels
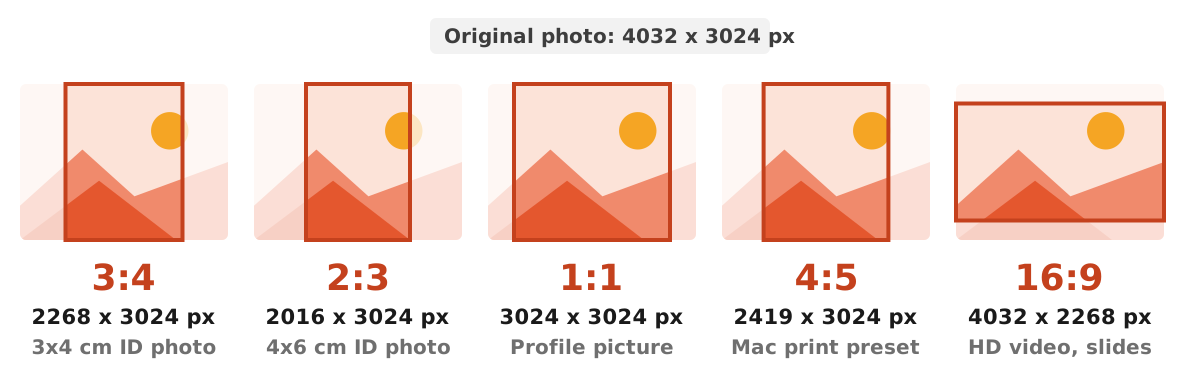
An aspect ratio compares width with height. A 3x4 cm ID photo uses 3:4, and a 4x6 cm photo uses 2:3 (the same as 4:6). Because phone cameras usually shoot 4:3, cropping to a 3:4 portrait removes only a little from the sides, while 2:3 removes more.
The table below works out the largest crop you can take from a 4032 x 3024 pixel photo (a common 12 MP phone camera size) while keeping the short side. These are plain calculations, not the rule of any particular portal.
| Ratio | Typical use | Largest crop from 4032 x 3024 |
|---|---|---|
| 3:4 (portrait) | 3x4 cm ID photo | 2268 x 3024 pixels |
| 2:3 (portrait) | 4x6 cm ID photo | 2016 x 3024 pixels |
| 1:1 (square) | Profile picture, avatar | 3024 x 3024 pixels |
| 4:5 | Print preset in Photos for Mac | 2419 x 3024 pixels |
| 16:9 (landscape) | HD video, slide cover | 4032 x 2268 pixels |
After cropping, the photo is usually still much larger than a form wants. That is normal. You lower the pixel dimensions in a resize step (see how to resize a photo) and the KB in a compression step. To get a feel for the units, read 200 KB to MB.
Crop an ID photo to 3:4 or 4:6 in your browser
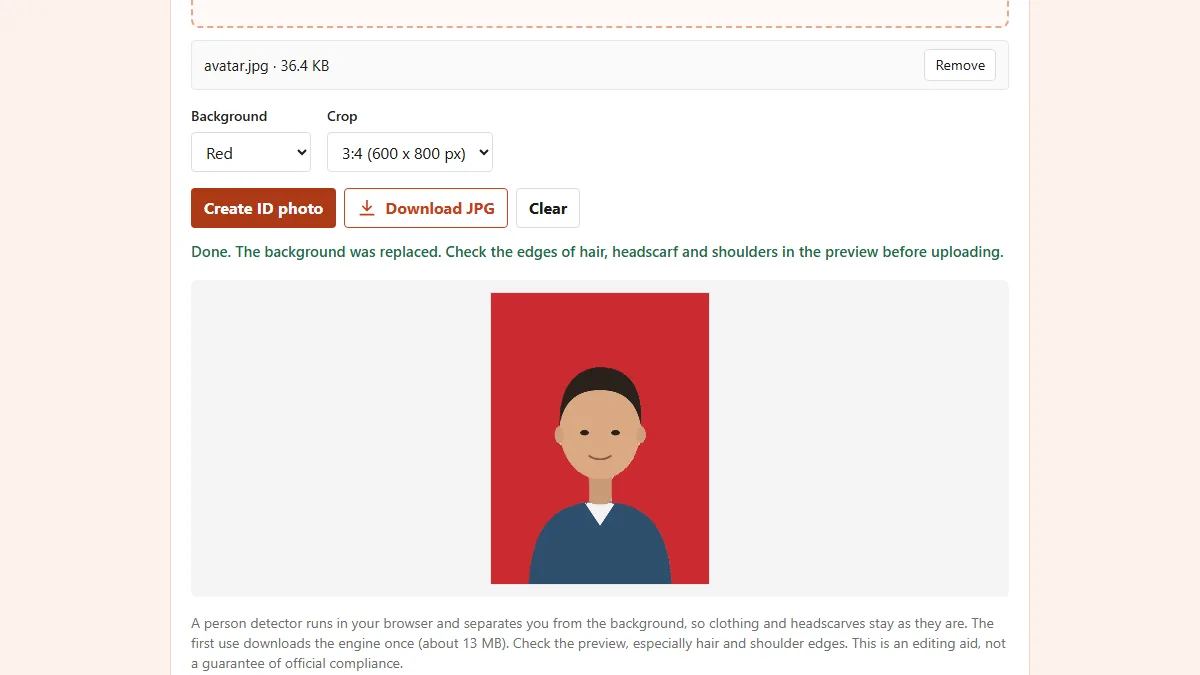
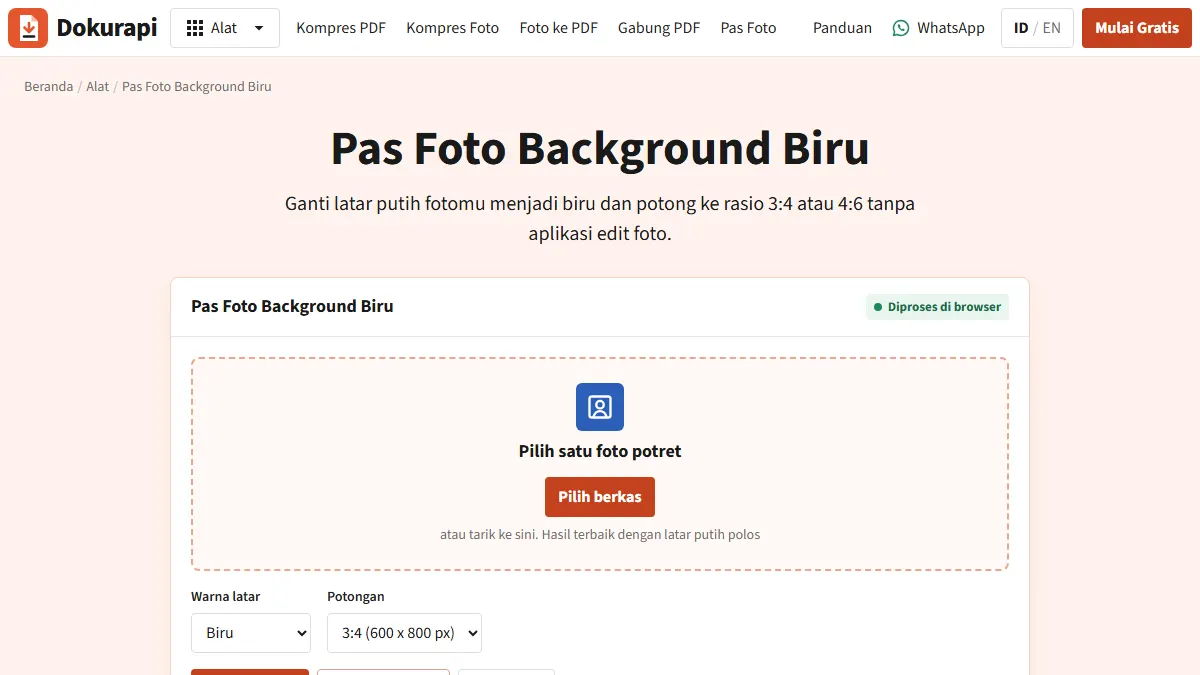
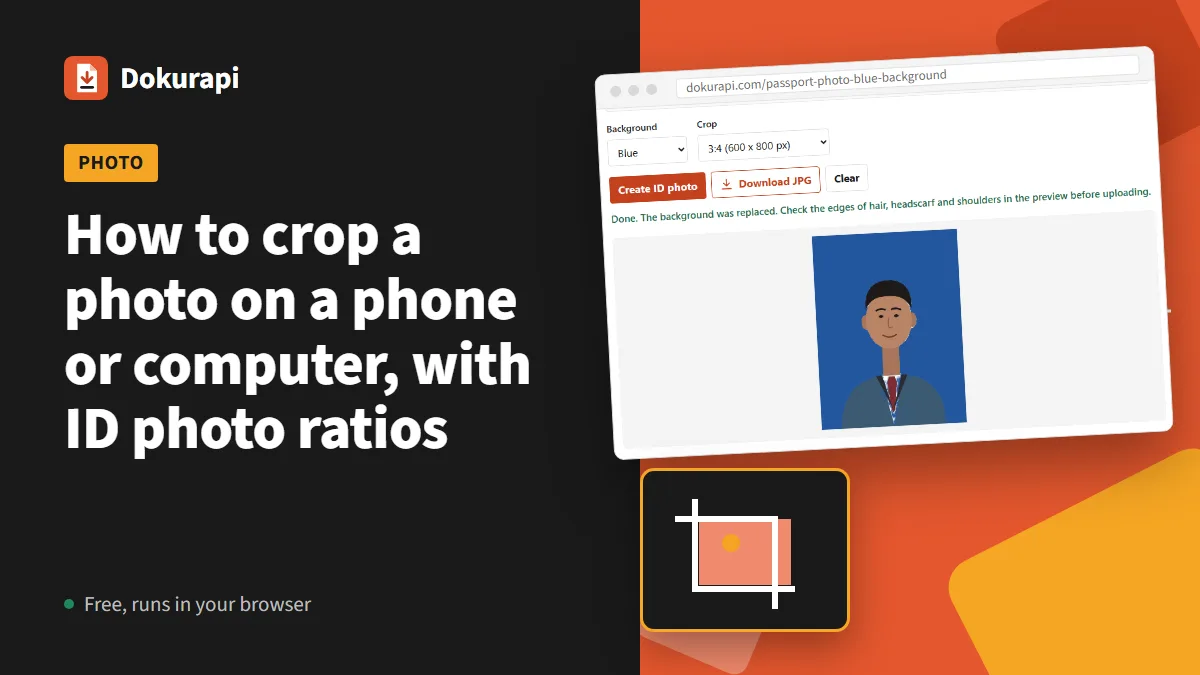
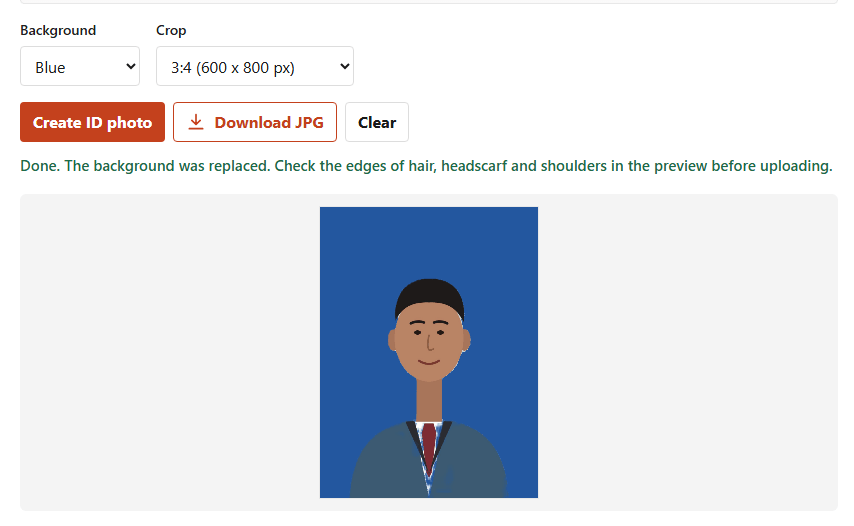
If the goal of your crop is an ID photo, there is a shorter route. The Dokurapi red background ID photo and blue background ID photo tools crop a portrait to the ratio you choose and replace the background in one go. In the tool code there are three crop options: 3:4 (output 600 x 800 pixels), 4:6 (600 x 900 pixels), and no crop. The crop is taken from the centre of the photo, so place your face roughly in the middle before you start.
- Open the ID photo tool and choose one portrait photo.
- Pick the background colour and the 3:4 or 4:6 crop.
- Click Create ID photo and wait for the preview.
- Check the edges of hair, headscarf, and shoulders, then click Download JPG.
In our test with a wide 2400 x 1600 pixel illustration, the downloaded 3:4 crop measured exactly 600 x 800 pixels and about 20 KB. Everything runs inside the browser tab and nothing is sent to a server. The first run downloads a person detector of about 13 MB once, after which it is quicker. This is an editing aid, not a guarantee that a photo meets an official rule. Background and size requirements still come from the organisation you submit to, as in our guide to the photo for a job application.
Crop, resize, and compress are three different steps
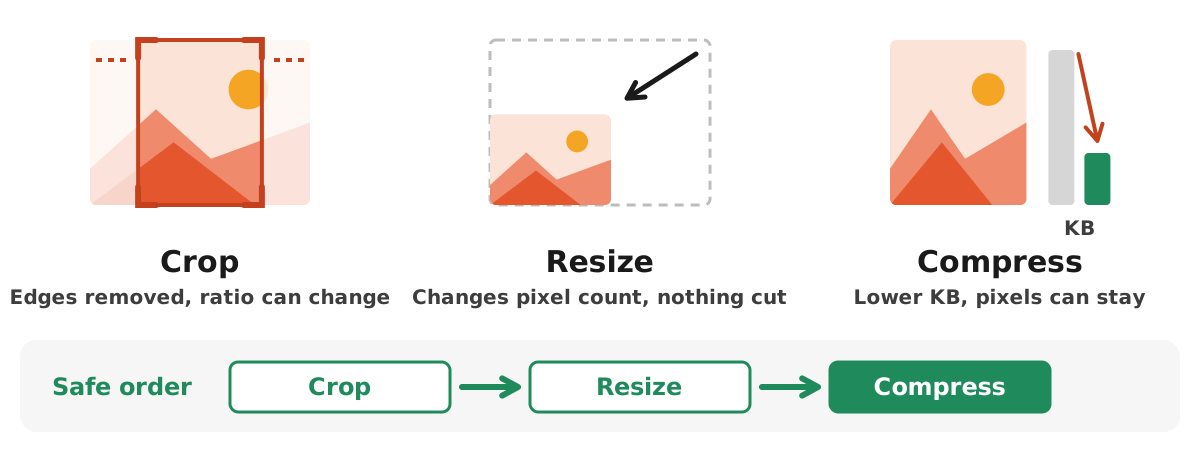
Plenty of uploads fail because these three words get mixed up. Cropping removes edges and can change the ratio. Resizing changes the number of pixels without cutting anything. Compressing lowers the file size (KB or MB) by saving the photo again at a lower quality, and the pixel dimensions can stay the same.
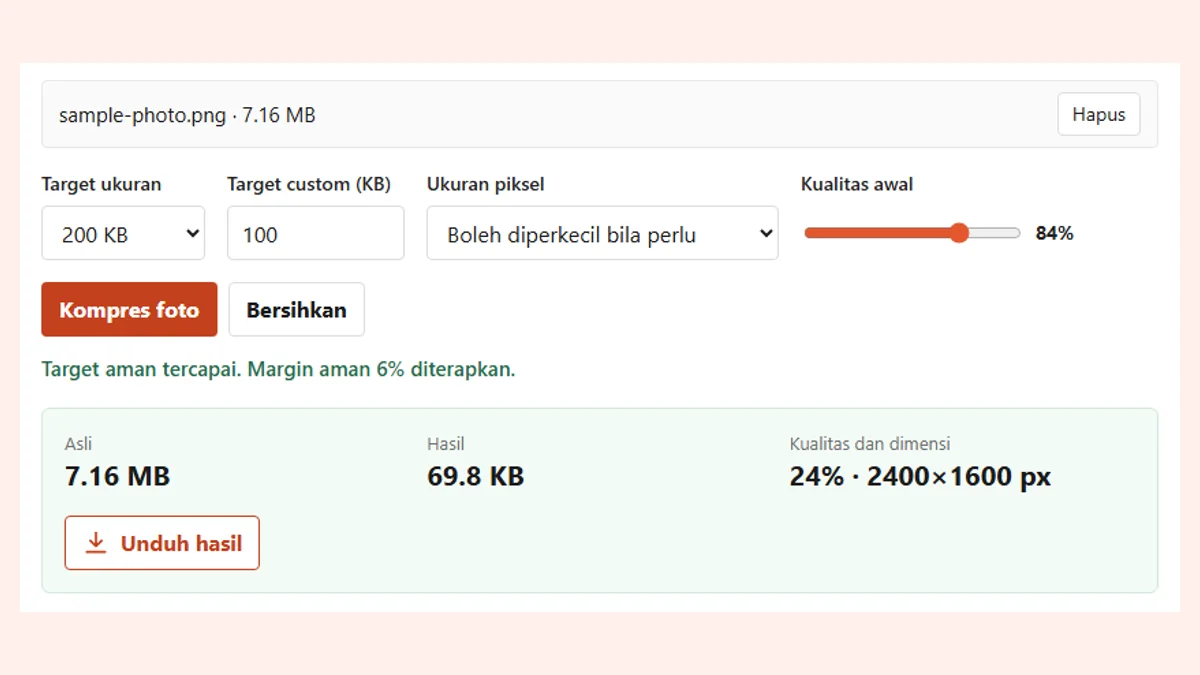
The safe order is crop first, then resize if the form asks for specific dimensions, then compress until the file is under the KB limit. If you reverse it and compress before cropping, the photo is saved twice and loses more detail. For the compression step, pick the tool that matches the limit: compress image to 100 KB, compress image to 200 KB, or compress image with any target. How it works is explained in how to compress an image.
If the file is still too large after compression, the causes and fixes are in compressed file still too big.
Common cropping mistakes
- Cropping too tight. On ID photos, a head that touches the top edge or shoulders cut off completely is a frequent reason for rejection. Leave space above the head.
- Cropping and then enlarging. A small crop from a wide photo that is then scaled up looks pixelated. Retake the photo from closer instead.
- Overwriting the original. Save a copy so you can crop again at a different ratio later.
- Treating crop as compression. Cropping lowers the file size a little, but it does not guarantee you are under a KB limit.
- Using AI fill on official documents. Content added by AI is not part of the real photo.
- Skipping rotation. Straighten a tilted document photo first, then crop it tight.
If the photos are going into a PDF, crop each page photo first and then combine them with photo to PDF. The full guide is in combine images into a PDF.
A checklist before you upload a cropped photo
Before you press upload on a form, check these five things to avoid a second attempt:
- The ratio matches. 3:4 for a 3x4 photo, 2:3 for 4x6, square for a profile picture.
- Pixel dimensions. If the form names a pixel size, match it with a resize.
- File size. Make sure it sits under the limit with a safety margin. Dokurapi's compression tools apply a 6% margin, so a 200 KB target is worked down to about 188 KB.
- Format. Many forms only accept JPG. If your photo is HEIC or PNG, convert it first as shown in HEIC to JPG or PNG to JPG.
- Content. The face or the document text is clearly readable and nothing important was cut off.
For the habit of checking size before uploading, check file size before upload shows how to see KB and pixels on a phone or a laptop.
Frequently asked questions
What does it mean to crop a photo?
How do I crop a photo on iPhone?
Why can I not crop freely on iPhone?
How do I crop a picture on Android?
How do I crop a photo on Windows?
Which ratio should I use for 3x4 and 4x6 ID photos?
Does cropping reduce the file size?
Are photos cropped with Dokurapi uploaded to a server?
Sources
- Crop, rotate, flip, or straighten photos and videos on iPhone, Apple Support
- Edit your photos, Google Photos Help
- Edit photos and videos in Windows, Microsoft Support
- Crop, extend, reframe, and straighten photos and videos on Mac, Apple Support
Need help?Result not quite right, or unsure about a form rule? Ask Dokurapi support on WhatsApp. Please do not send personal documents in chat.
Chat on WhatsApp